Make any AI project business-ready in one prompt. Try Wix Headless →
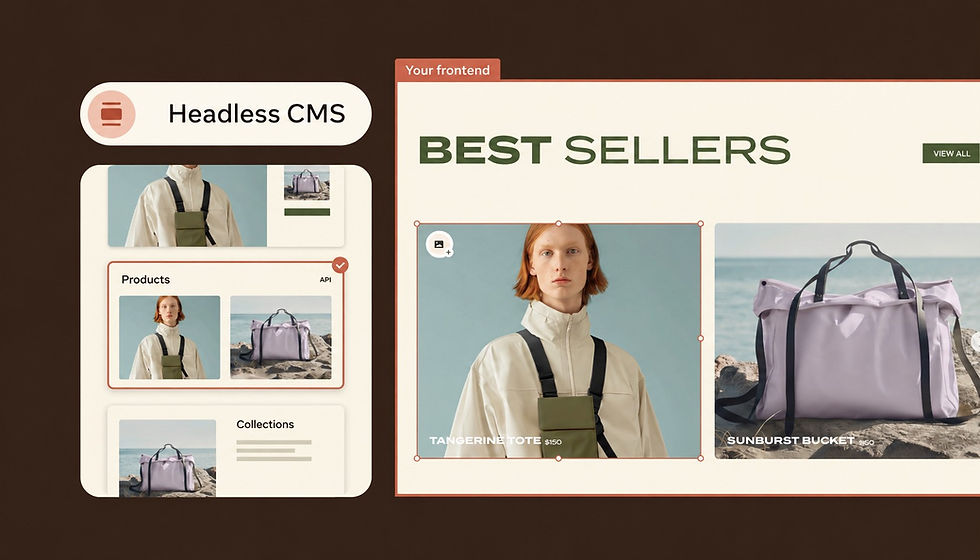
To use a headless CMS, you set up content types, add your content in a dashboard and connect a frontend that pulls that content in through an API. A headless CMS keeps your content in one place, so any website, app or screen with a frontend built to read it can display the same content.
Go from code to live site with Wix Headless. Upload or drag in your HTML, CSS and JavaScript files to get your site live with a shareable URL. Wix handles the hosting and infrastructure, and you can add ecommerce, bookings, CMS, payments and more with a single prompt.
TL;DR: how to use a headless cms
Using a headless CMS comes down to modeling your content, adding it in a dashboard and connecting a frontend that requests it through an API. The biggest time saver is planning your content structure first, since every page, app screen and SEO field depends on it.
You'll learn:
What a headless CMS is and how content reaches a page
The 8 steps to set up and use a headless CMS
How drafts, previews and publishing work day to day
What to get right for security and SEO
How to use a headless CMS with Wix

What is a headless CMS and how does it work?
A headless CMS is a content management system that stores, organizes and delivers your content but doesn't decide how it looks. Instead of building pages for you, it makes your content available to any website or app that's set up to request it.
Why it's called "headless"
In web speak, the "head" is the part visitors see, meaning the design and layout of a page. The "body" is the backend, where content is created, managed and sent out. A traditional CMS usually keeps both together, while a headless CMS removes the head so you can attach any design you want.
Think of it like a kitchen without its own dining room. The kitchen (your CMS) prepares and sends out the food (your content) and each restaurant, food truck or delivery app serves it in its own style. A headless website works the same way, with the design built separately from the content.
The three parts of a headless setup
A typical headless setup has three main parts that work together. Here's what each one does in plain words.
Content hub (the CMS): where you create content types, write entries and upload images.
API (the connection): a link that lets your website or app request content from the CMS and get it back as structured data.
Frontend (what visitors see): the design and code that turn that data into pages, built with the coding toolkit your developer prefers.
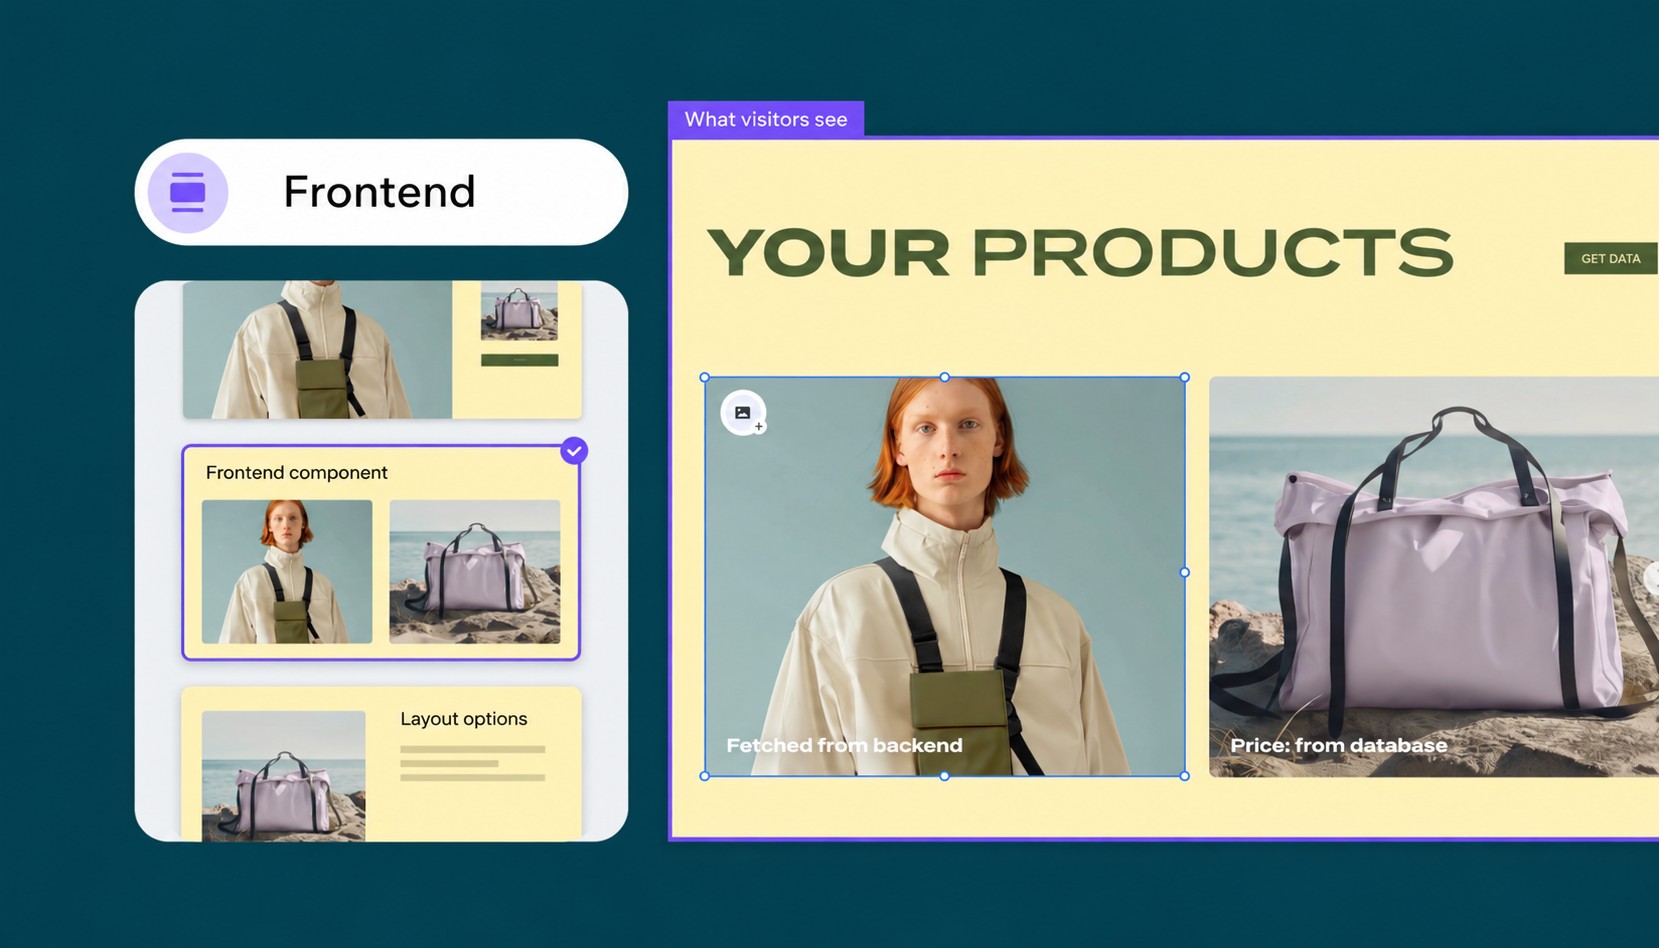
How content gets from the CMS to the page
Here's what happens with a single blog post, from the moment an editor writes it to the moment a visitor reads it.
An editor writes a blog post in the CMS and publishes it.
The CMS makes the published post available through its API.
The website requests the post and places its title, text and image fields into the page design.
When the editor updates the post, the site shows the new version, either right away or after a cache refresh or rebuild, depending on how the frontend is set up.

How to use a headless CMS in 8 steps
Using a headless CMS involves more than adding content and connecting an API. You need to plan your content structure, connect it to a frontend, configure publishing workflows and make sure everything works on the live site.
Here's the full process, from choosing a CMS to launching your site. The exact setup varies by platform, but the main steps are similar.
01. Set your goals and channels
Start by listing where your content needs to appear, such as a website, mobile app, online store or newsletter. Then identify the content you need to publish, like blog posts, product pages, team bios or FAQs.
Next, consider how that content will be used. Will the same product information appear on your website and mobile app? Will different teams manage content for different channels? Do you need to update content in one place and have those changes appear everywhere?
These answers help determine how to structure your content and which CMS features you'll need.
Think about whether headless is the right fit
Your channel list also helps you decide if headless is the right approach. It makes sense when you need to distribute content across several channels or want developers to have full control over the frontend, as with headless commerce.
For a simple website managed by one person, a traditional website builder is often easier to maintain.
Read more: Why use a headless CMS

02. Choose a headless CMS that fits your team
Compare platforms based on how they'll support your content and development workflows. Look beyond the feature list and check how each CMS handles these practical requirements:
Content modeling: Can you create custom content types, fields and relationships between entries?
APIs and SDKs: Does it provide the APIs, documentation and code libraries your developers need? Check for request limits and supported frameworks too.
Editorial workflows: Can editors save drafts, schedule publishing, manage revisions and approve content before it goes live?
Preview options: Can writers see unpublished content in the actual frontend design?
Hosting and maintenance: Is the CMS hosted by the provider or does your team need to manage its own infrastructure, updates and security?
Integrations: Does it connect with the other services you need, such as analytics, search, payments or bookings?
Also compare pricing based on your expected usage. Some platforms charge according to the number of users, API requests, content entries or bandwidth. Check how those limits affect your plans as traffic and content grow.
Learn more:

03. Model your content
Content modeling means deciding what information each type of content contains and how different pieces relate to one another. Do this before adding content so your team doesn't have to restructure everything later.
There are three basic building blocks:
Content types: Templates for different kinds of content, such as blog posts, products or authors.
Fields: Individual pieces of information within a content type, such as a title, image, publication date or price.
Entries: Actual content items created from those templates, such as a specific blog post or product.
Model your content around how it will be used
For example, a blog post content type might include a title, author, publication date, featured image, body and related posts.
Think about which information should be reusable. If several blog posts share the same author, create a separate author entry and link each post to it. This way, you can update the author's information once instead of editing every post.
Also consider how content will appear across different channels. A website might display a long product description while a mobile app needs a shorter version. Add separate fields when the content genuinely needs to differ, but avoid creating unnecessary duplicates.
Plan for flexible page layouts
Finally, plan for reusable page components. If editors regularly create pages with hero sections, testimonials or FAQs, consider modeling these as reusable content blocks. This gives them more control over page content without requiring a developer to build every section from scratch.
04. Plan SEO fields and URLs
Decide which content types need their own public URLs. Blog posts and product entries usually become individual pages, while an author entry might only appear as part of a blog post.
For each content type that creates a page, plan the fields needed to manage its search appearance and URL:
Meta title: The title search engines can use in search results.
Meta description: A summary that can appear below the title in search results.
URL slug: The unique part of the page address after your domain.
Social sharing image: The image used when someone shares the page on social media.
Canonical URL: The preferred URL when the same or similar content is accessible at multiple addresses.
For image fields, also plan how to manage alt text so editors can describe images for accessibility and search engines.
Don't assume that creating these fields automatically makes them work. Your developer needs to map them to the correct HTML elements and metadata in the frontend. The frontend also needs to generate the correct URLs, canonical tags and sitemap entries.
If you're migrating an existing site, map its current URLs to the new ones before launch. Set up redirects for pages whose addresses change so visitors and search engines can reach the correct content.
05. Create or import your content
Once your content model is ready, start adding entries through the CMS dashboard. Depending on the platform, you may be able to import content from a CSV file, use an API or run a migration tool.
If you're moving content from an existing website or CMS, check how the new platform handles:
Rich text and formatting
Images, file uploads and alt text
Relationships between content entries
Categories and tags
Existing URLs and redirects
Multiple languages and translations
Before importing everything, create a small batch of real entries. Use different content types and include examples with long text, missing images and related entries. This helps you spot gaps in your content model before they affect the entire migration.
Also check how the CMS handles drafts and publishing status. Your frontend should distinguish between published entries and content that editors are still working on.
06. Connect your frontend through the API
The frontend is the part of your site visitors see and interact with. Your developer connects it to the headless CMS using an API or SDK, a code library that makes it easier to retrieve and work with CMS data.
The connection typically follows this process:
The frontend sends a request to the CMS API.
The CMS checks the request and returns the requested content.
The frontend uses the returned data to populate the page.
The visitor sees the content within the site's design.
For example, when someone opens a blog post, the frontend can request the entry using its URL slug. The CMS returns the title, body, author and featured image, which the frontend displays using its page template.
Set up secure access to your content
Your developer also needs to configure authentication. Public content can often be retrieved without administrator credentials, while private content and actions such as creating or updating entries require authenticated requests.
Keep secret API keys on the server. Never put administrator credentials or other private keys in frontend code that visitors can inspect. If you're using an AI coding tool to build the connection, check where it places credentials and how it handles authentication.
To test the connection, request one published entry through the API. Confirm that the returned fields match the content in the CMS and appear in the correct places on the page.
Expert tip from Rafal Koziarz, developer of Solitairec:
“It feels like I don't have any backend to test. I rely a lot on the SDK, which makes development a lot smoother.”
07. Configure previews, publishing and permissions
Before editors start using the CMS, set up the workflows they'll follow to create, review and publish content.
Content previews: A headless CMS stores content separately from the frontend, so editors need a way to see how drafts will look before publishing. Set up a preview environment that loads unpublished content in the actual site design. Make sure preview links are restricted to authorized users.
Publishing and updates: Decide what happens when an editor publishes or updates an entry. Depending on your frontend setup, the change might appear immediately, after a cache refresh or after the site is rebuilt. Test this process so editors know when their changes will reach visitors.
Webhooks: These are automatic notifications that the CMS sends to another system when an event occurs, such as publishing a blog post. Your developer can configure the receiving system to refresh cached content, rebuild affected pages or trigger another action. Webhooks are especially useful when the frontend uses pre-built pages.
Permissions: Give each team member access based on their responsibilities. For example, writers might be able to create and edit drafts while editors can approve and publish them. Keep administrative access limited to people who need it.
Also check that unpublished or private content isn't exposed through public API requests.
08. Deploy, test and launch
Once the CMS and frontend are connected, deploy your frontend to a hosting provider and connect your domain. The CMS and frontend may be hosted by different providers, so check that both environments are configured correctly.
Before launch, test the complete content workflow on the live site.
Content and API checks
API requests return the expected content.
CMS fields appear in the correct page elements.
Related content and images load correctly.
Missing or unpublished entries don't appear on public pages.
Publishing checks
Drafts can be previewed without becoming publicly accessible.
Publishing a new entry makes it available on the live site.
Updating existing content changes the live page as expected.
Webhooks trigger the correct action, if configured.
SEO and technical checks
Each page has the correct title, meta description and canonical URL.
Public pages return the correct HTTP status codes.
The sitemap includes the pages you want search engines to index.
Redirects work for URLs that have changed.
Images, internal links and dynamic page URLs work correctly.
Pages load properly on mobile and desktop.
Once everything passes, your site is ready to launch. Keep monitoring API errors, page performance and publishing behavior after launch so you can catch problems as your content and traffic grow.

How to use a headless CMS day to day
After setup, most content work happens in the CMS dashboard. Editors open a content type, create or update an entry, preview the changes and publish it. The frontend retrieves the updated content through the API, so routine content updates usually don't require code changes.
However, the CMS and frontend handle different parts of the site. Understanding this distinction helps teams know what they can manage independently and when they need a developer.
Understand what editors can change
Content changes: Updating a blog post, replacing an image, changing a product description or adding a new entry. Editors can usually do these tasks directly in the CMS.
Layout changes: Changing the navigation, adding a new page section, modifying a page template or changing how content is displayed. These changes usually require frontend development.
CMS configuration: Adding a new content type, changing field structures or modifying permissions. These tasks may require CMS administrator access and sometimes developer support.
You can give editors more flexibility by building reusable page sections and templates into the frontend from the start. For example, if editors can choose from predefined hero, testimonial and FAQ sections, they can create different page layouts without asking a developer to code each one.
Plan for localization and performance
If you publish in several languages, plan for localization early. Your content model should account for translated fields, language-specific URLs and the way translations are reviewed and published. Adding multilingual support later can require changes to both the CMS and frontend.
Finally, remember that site performance depends on how the frontend retrieves and serves content. Pre-built pages can make content load faster, while server-side rendering can generate pages when visitors request them.
Caching can reduce repeated API requests, and smaller, targeted requests prevent the frontend from retrieving more data than it needs.
The right setup depends on how frequently your content changes, how dynamic your pages are and how much control you need over updates.
Headless CMS and SEO: what to get right
Going headless doesn't automatically improve or hurt SEO. What matters is how your frontend delivers content to search engines. Unlike traditional CMS platforms, where content and page rendering are often handled together, a headless setup requires your frontend to handle how pages are generated and served.
Choose the right rendering approach
For important pages, make sure the main content and metadata are available in the HTML that search engines receive. Server-side rendering (SSR) generates HTML on the server when a page is requested, while static site generation (SSG) creates HTML pages ahead of time. Both approaches can make content available without relying on browser-side JavaScript execution.
Check what search engines can access
Test key pages to confirm that their main content, internal links and metadata appear in the rendered HTML. Check that pages return the correct HTTP status codes, aren't accidentally blocked from crawling and can be discovered through internal links and your XML sitemap.
Pay attention to content updates
If your frontend uses cached or pre-built pages, make sure publishing or updating content triggers the right refresh or rebuild. Otherwise, search engines and visitors might continue seeing outdated content even after an editor publishes a change.
How to use a headless CMS with Wix
Wix Headless gives your custom frontend a ready-made business backend. Alongside a CMS, it includes ecommerce, bookings, events and payments in one connected system, so you don't have to stitch separate tools together. You keep building the frontend your way while Wix runs the backend.
Connecting your frontend to Wix is free, with no developer pricing or API fees. A Premium plan is needed to accept payments, connect a custom domain or get advanced analytics. Other costs like domain registration or paid business features may still apply.
Expert tip from Tuvit Rubin Kaplan, Head of DevRel at Wix:
“Frontend creation became easy almost overnight. But running a business still requires real infrastructure. Wix Headless is where those two things meet.”
01. Pick your development path
How much Wix handles depends on the path you choose.
Wix-managed with Astro: Wix hosts your site and handles visitor and member authentication plus SEO support for you.
Wix-managed with another framework: Wix still hosts and runs your site, but your developer sets up authentication.
Self-managed: you host the frontend anywhere and handle authentication and SEO yourself.
02. Start your project
If you build with an AI coding tool, point it to wix.com/headless/skill.md and it connects your frontend to the Wix backend for you. Prefer the command line? The Wix CLI creates a project you develop locally.
Starting from scratch? Describe your project on the Headless page on wix.com and it opens in a vibe coding platform with the backend already connected. Already have finished site files? You can drag and drop them to go live on a Wix URL.
03. Set up your CMS collections
Wix organizes content into collections, which work like the content types described above. Create a collection for each kind of content, add its fields and fill in your items from the dashboard. Once your frontend is coded to display a collection, editors can add and update items without code changes.
04. Connect your frontend
Your frontend talks to Wix through the JavaScript SDK or the REST and GraphQL APIs. With the Astro integration, visitor sessions and member login are handled for you. On other setups, your developer creates a headless client and manages visitor and member tokens.
05. Add business tools when you need them
Turn on the business solutions your project needs, like a store, online bookings, event tickets or payments. You manage them from one dashboard, so orders, bookings and content live in the same place.
06. Handle SEO and go live
On Wix-managed projects built with Astro, Wix injects the SEO tags you set in the dashboard into your main pages and serves a sitemap. Dynamic item pages, like individual products or posts, need extra setup so their routes and tags reach Wix.
On other frameworks and self-managed projects, your developer renders SEO tags in the page code. When you're ready to launch, upgrade to connect your domain and use Wix SEO tools to keep improving how your pages show up in search.
Using a headless CMS FAQ:
Can you use a headless CMS without a developer?
You can manage content in a headless CMS without coding, but setting up the frontend usually takes a developer or an AI coding tool. Once that's done, editors can write, update and publish on their own. If nobody on your team writes code, look for a platform with starter templates or AI-assisted setup.
How long does it take to set up a headless CMS?
It depends on your content volume, integrations, migration needs and the developer time you have. A small project with a few content types and a starter template can be ready in days. A large migration with many content types, languages or integrations can take weeks or longer.
How much does a headless CMS cost?
Costs range from free tiers and open-source software to enterprise plans that cost thousands of dollars a month. Many hosted platforms charge by users, content volume or API requests. Hosting the frontend may cost extra and developer time is often the biggest expense.
Can editors preview content in a headless CMS?
Yes, but previews usually need a developer to set them up. Most platforms support a preview link that shows draft content in the real site design before publishing. Some also offer visual editing on top of the preview.
What's the difference between a headless, decoupled and hybrid CMS?
Terminology varies by platform, but a headless CMS typically has no built-in frontend and delivers content through an API. A decoupled CMS separates content management from presentation while possibly offering its own frontend. A hybrid CMS supports API delivery alongside traditional publishing tools.
Is a headless CMS good for ecommerce?
It can be, especially if you sell on more than one channel or want a fully custom shopping experience. A headless CMS can manage product content, but selling also needs a commerce backend that handles checkout, payments and inventory. Some platforms offer both in one system.


