Connect your Cursor project to a complete business backend with Wix Headless →

Cursor can write your app's code, but turning it into a working product takes more than code. You also need a backend to store data, manage user accounts and run server-side logic. To add one to a Cursor project, connect it to a backend service and let Cursor help integrate the service into your code.
The right setup can take your project from prototype to a functional product. Depending on the service you choose, a headless solution can also provide built-in business features like payments, bookings and a CMS, so you don't have to build them from scratch.
Give your Cursor project a backend in one prompt. Wix Headless connects your frontend to payments, bookings, a CMS and ecommerce, all run from one dashboard. It's free to connect, so you can build and test everything before you upgrade.
TL;DR: how to add a backend to a cursor project
To add a backend to a Cursor project, connect your app to a service that handles data, user accounts and server-side logic. Then use an SDK or API to connect your app to that service. MCP can help Cursor's AI agent understand the backend and work with it as you build.
You'll learn:
What a backend is and which type your project needs
How MCP, SDKs and APIs connect Cursor to a backend
How to add a backend step by step and keep it secure
How to connect your Cursor project to Wix Headless for built-in business features like payments, bookings and a CMS

What a backend does for your Cursor project
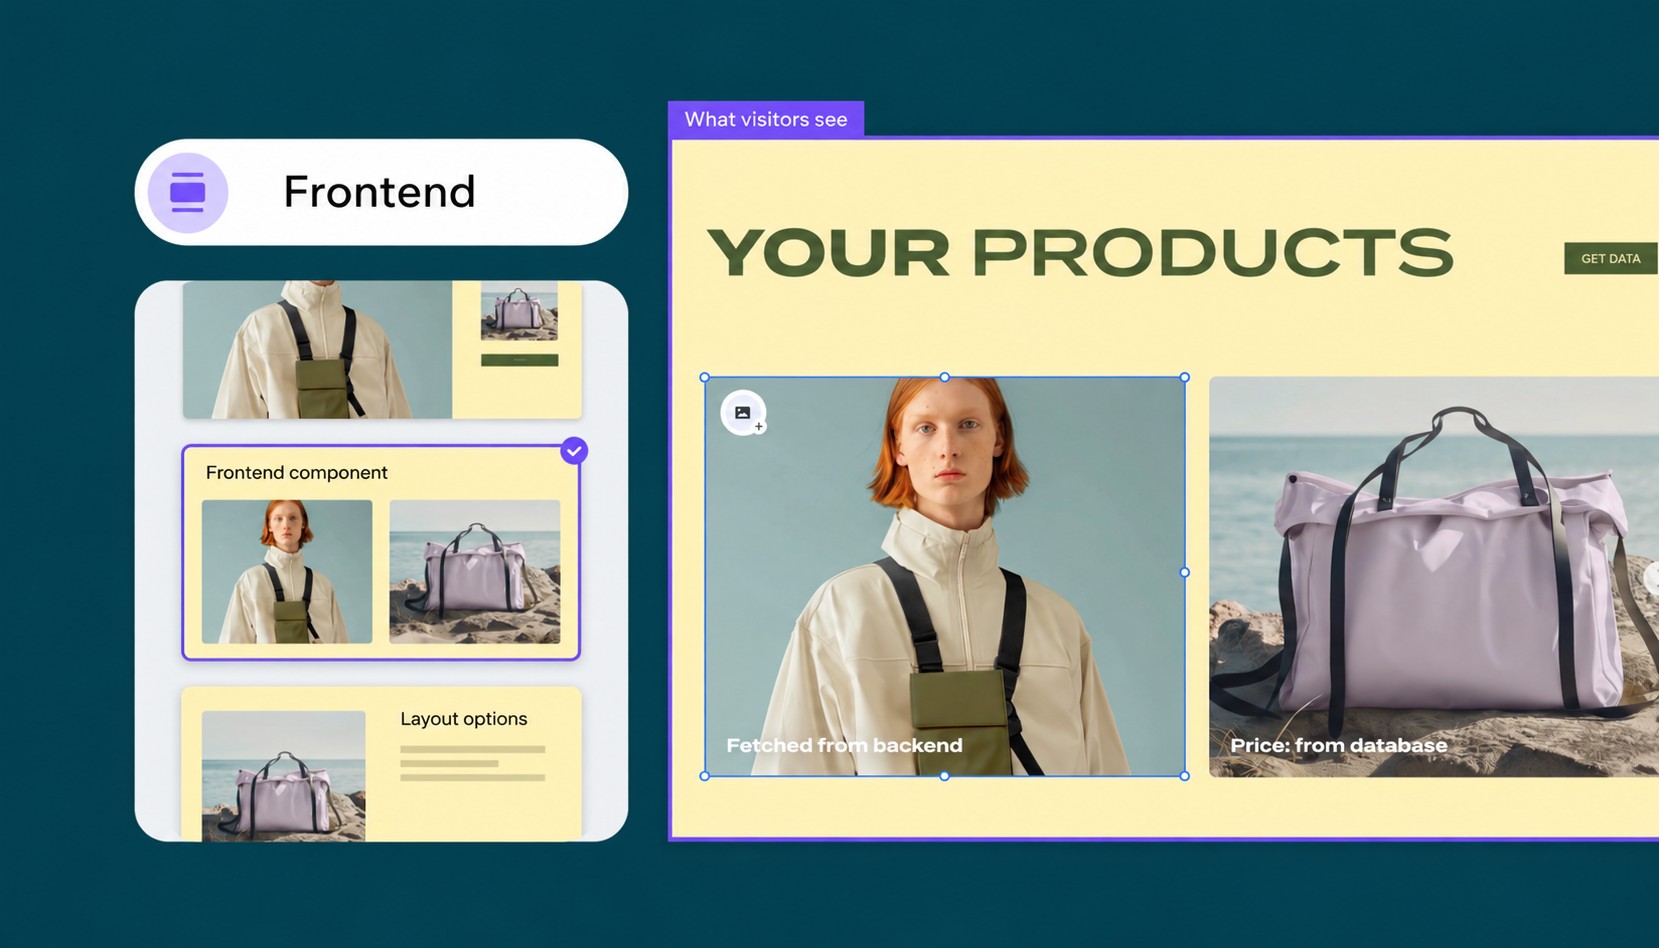
The frontend is everything your visitors see and click. The backend handles what happens behind the scenes. It's the database that remembers their orders, the login system that knows who they are and the server code that decides what happens when they hit "Buy" or "Book."

Many Cursor projects start with a working frontend that uses mock data. The screens look finished, but the information isn't actually saved. Refresh the page and a new product, comment or sign-up might disappear. Connecting a backend gives your app a place to store information and the systems to process requests securely.
A few terms come up constantly and are easy to mix up. Here's how they fit together.
Component | What it is |
|---|---|
Backend | The systems that handle your app's data and operations |
Database | Where your app stores information such as users, products or bookings |
API | The interface your app uses to send data to the backend and get data back |
SDK | A package of code that makes a service's API easier to use from your app |
Server | The environment where backend code actually runs |
In practice, adding a backend usually means connecting some combination of these components:
A database to store users, products, posts or bookings
Authentication so people can sign up and log in
File storage for images, uploads and documents
Server-side logic to handle tasks you don't want running in the browser
Business features such as checkout, scheduling or content management
You rarely need all five on day one. A portfolio with a contact form needs far less than a booking app that takes deposits. Start by listing what your project needs to remember, what actions it needs to perform and who should have access to the information. If you're still planning the site itself, our guide on how to make a website walks through the full process.
Can Cursor build a backend on its own?
Cursor can write backend code, create database tables, build APIs and set up login flows. But as a coding tool, it doesn't automatically provide the hosting, database or infrastructure every project needs. Traditionally, you'd connect your code to a separate hosting platform or backend service to run your app.
Cursor also offers Cursor Apps on paid plans, which include cloud agents that can build and publish working web apps. Cursor handles the hosting, database, sign-in and secrets, and apps can be private or public. This covers general app infrastructure, but it doesn't give you a ready-made business system.
Features like product catalogs, checkout, appointment scheduling and event ticketing still need to be built or connected separately.
When do you need an external backend?
External backend services are still useful when you need specific business features, more control over your setup or want to connect a backend you already use. A business backend such as Wix Headless can provide ready-made solutions for payments, bookings, ecommerce and content management.
One thing to keep in mind: Cursor is only as accurate as the context you give it. If it can't access your actual database schema or backend documentation, it may invent table names, use incorrect fields or generate broken queries. Giving it the right documentation and project rules, as covered below, helps prevent these mistakes.

Ways to add a backend to a Cursor project
There's no single right backend. The first three options below are ways to build the backend infrastructure yourself. The fourth is different. It's a category of managed business functionality that comes with the infrastructure already in place.
Your project | A good starting point |
|---|---|
Portfolio with a contact form | A form service or a serverless function |
App with user accounts and saved data | A backend as a service |
App with custom business logic | Custom server code or serverless functions alongside a database |
Online store | An ecommerce backend |
Booking platform | A booking backend |
Content-driven website | A headless CMS |
01. A backend as a service (database and login)
A backend as a service gives you a hosted database, user authentication, file storage and ready-made APIs in one place. You create a project, add its keys to your app and ask Cursor to replace mock data with real queries. Some providers also offer an MCP server, which can give Cursor access to their docs and, depending on the server, your schema or other supported actions.
It's a common first choice because it removes most of the server setup. The trade-off is that it gives you infrastructure rather than business features, so checkout, inventory or appointment scheduling are still yours to build or integrate on top.
02. Custom server code that Cursor writes for you
You can also ask Cursor to generate a full server, usually a Node.js API with its own routes, database connection and login logic. This gives you more control over how every request works, within the limits of your hosting environment and the libraries you use. Cursor is also genuinely good at producing this kind of code.
The catch is everything after the code is written. You'll need to host the server, handle traffic spikes, patch security issues and keep it running. Builders on forums often describe this path as the hardest one for beginners. They're right.
03. Serverless functions for API routes and webhooks
Serverless functions are small pieces of backend code that run when they're called or on a schedule you set. They're handy for jobs like processing a form, calling a third-party API with a secret key or receiving a payment webhook. Many frontend hosts include them, though availability and limits vary by provider and plan.
They work well alongside a database but don't replace one. Think of them as the glue between your frontend and the services that do the heavy lifting.

04. A complete business backend with a headless solution
If your project is a business, such as a shop, a booking site or a members' area, a headless business backend can save weeks. A conventional backend as a service gives you a database, authentication and storage. You build the business features yourself. A business backend gives you those features ready to use, along with the APIs that connect them to your custom frontend. For a shop, this setup is often called headless commerce.
The difference shows up in what each business need actually requires.
Business need | Backend capability |
|---|---|
Sell products | Product catalog, inventory, cart and checkout |
Take appointments | Availability, scheduling and booking management |
Publish content | CMS collections and content management |
Create memberships | Member accounts, subscriptions and access restrictions |
Organize customers | Contacts and customer management |
Sell event tickets | Events, ticketing and guest management |
Wix Headless covers these with business solutions for ecommerce, bookings, events, pricing plans, a headless CMS and payments. Your design stays in your code, while products, orders and content live in one dashboard.
Expert tip from Tuvit Rubin Kaplan, Head of DevRel at Wix:
"Frontend creation became easy almost overnight. But running a business still requires real infrastructure. Wix Headless is where those two things meet."
Good to know: you can mix these options. Plenty of projects use a business backend for checkout and content, then add one or two serverless functions for a custom integration. Pick the main backend first and add pieces only when a real need shows up.

How to add a backend to a Cursor project step by step
These steps work for almost any backend type. They're ordered to protect the frontend you've already built, which matters because a rushed backend integration is one of the most common ways Cursor projects break.
01. Save a checkpoint and map your data
Commit your working frontend to Git before you touch anything. If an integration goes sideways, you can roll back in seconds instead of untangling half-finished changes.
Then plan your data. List the main things your app stores (users, products, bookings), how they relate and which fields and data types each one needs. Ask Cursor to turn that list into a short data plan and review it before any code is written.
02. Choose the backend type
Use your data plan and the table above to pick a direction. If you're selling, taking bookings or publishing content, start with a business backend. If you mainly need custom data and login, a backend as a service is usually the quickest fit.
03. Connect the backend to Cursor and to your app
There are two different connections to understand. MCP, a standard way for an AI tool to connect to an external service, links Cursor's AI agent to your backend's documentation and supported tools. That helps Cursor build against the right backend. What an MCP server can do depends on the provider, since some only share docs while others expose schema details or other operations.
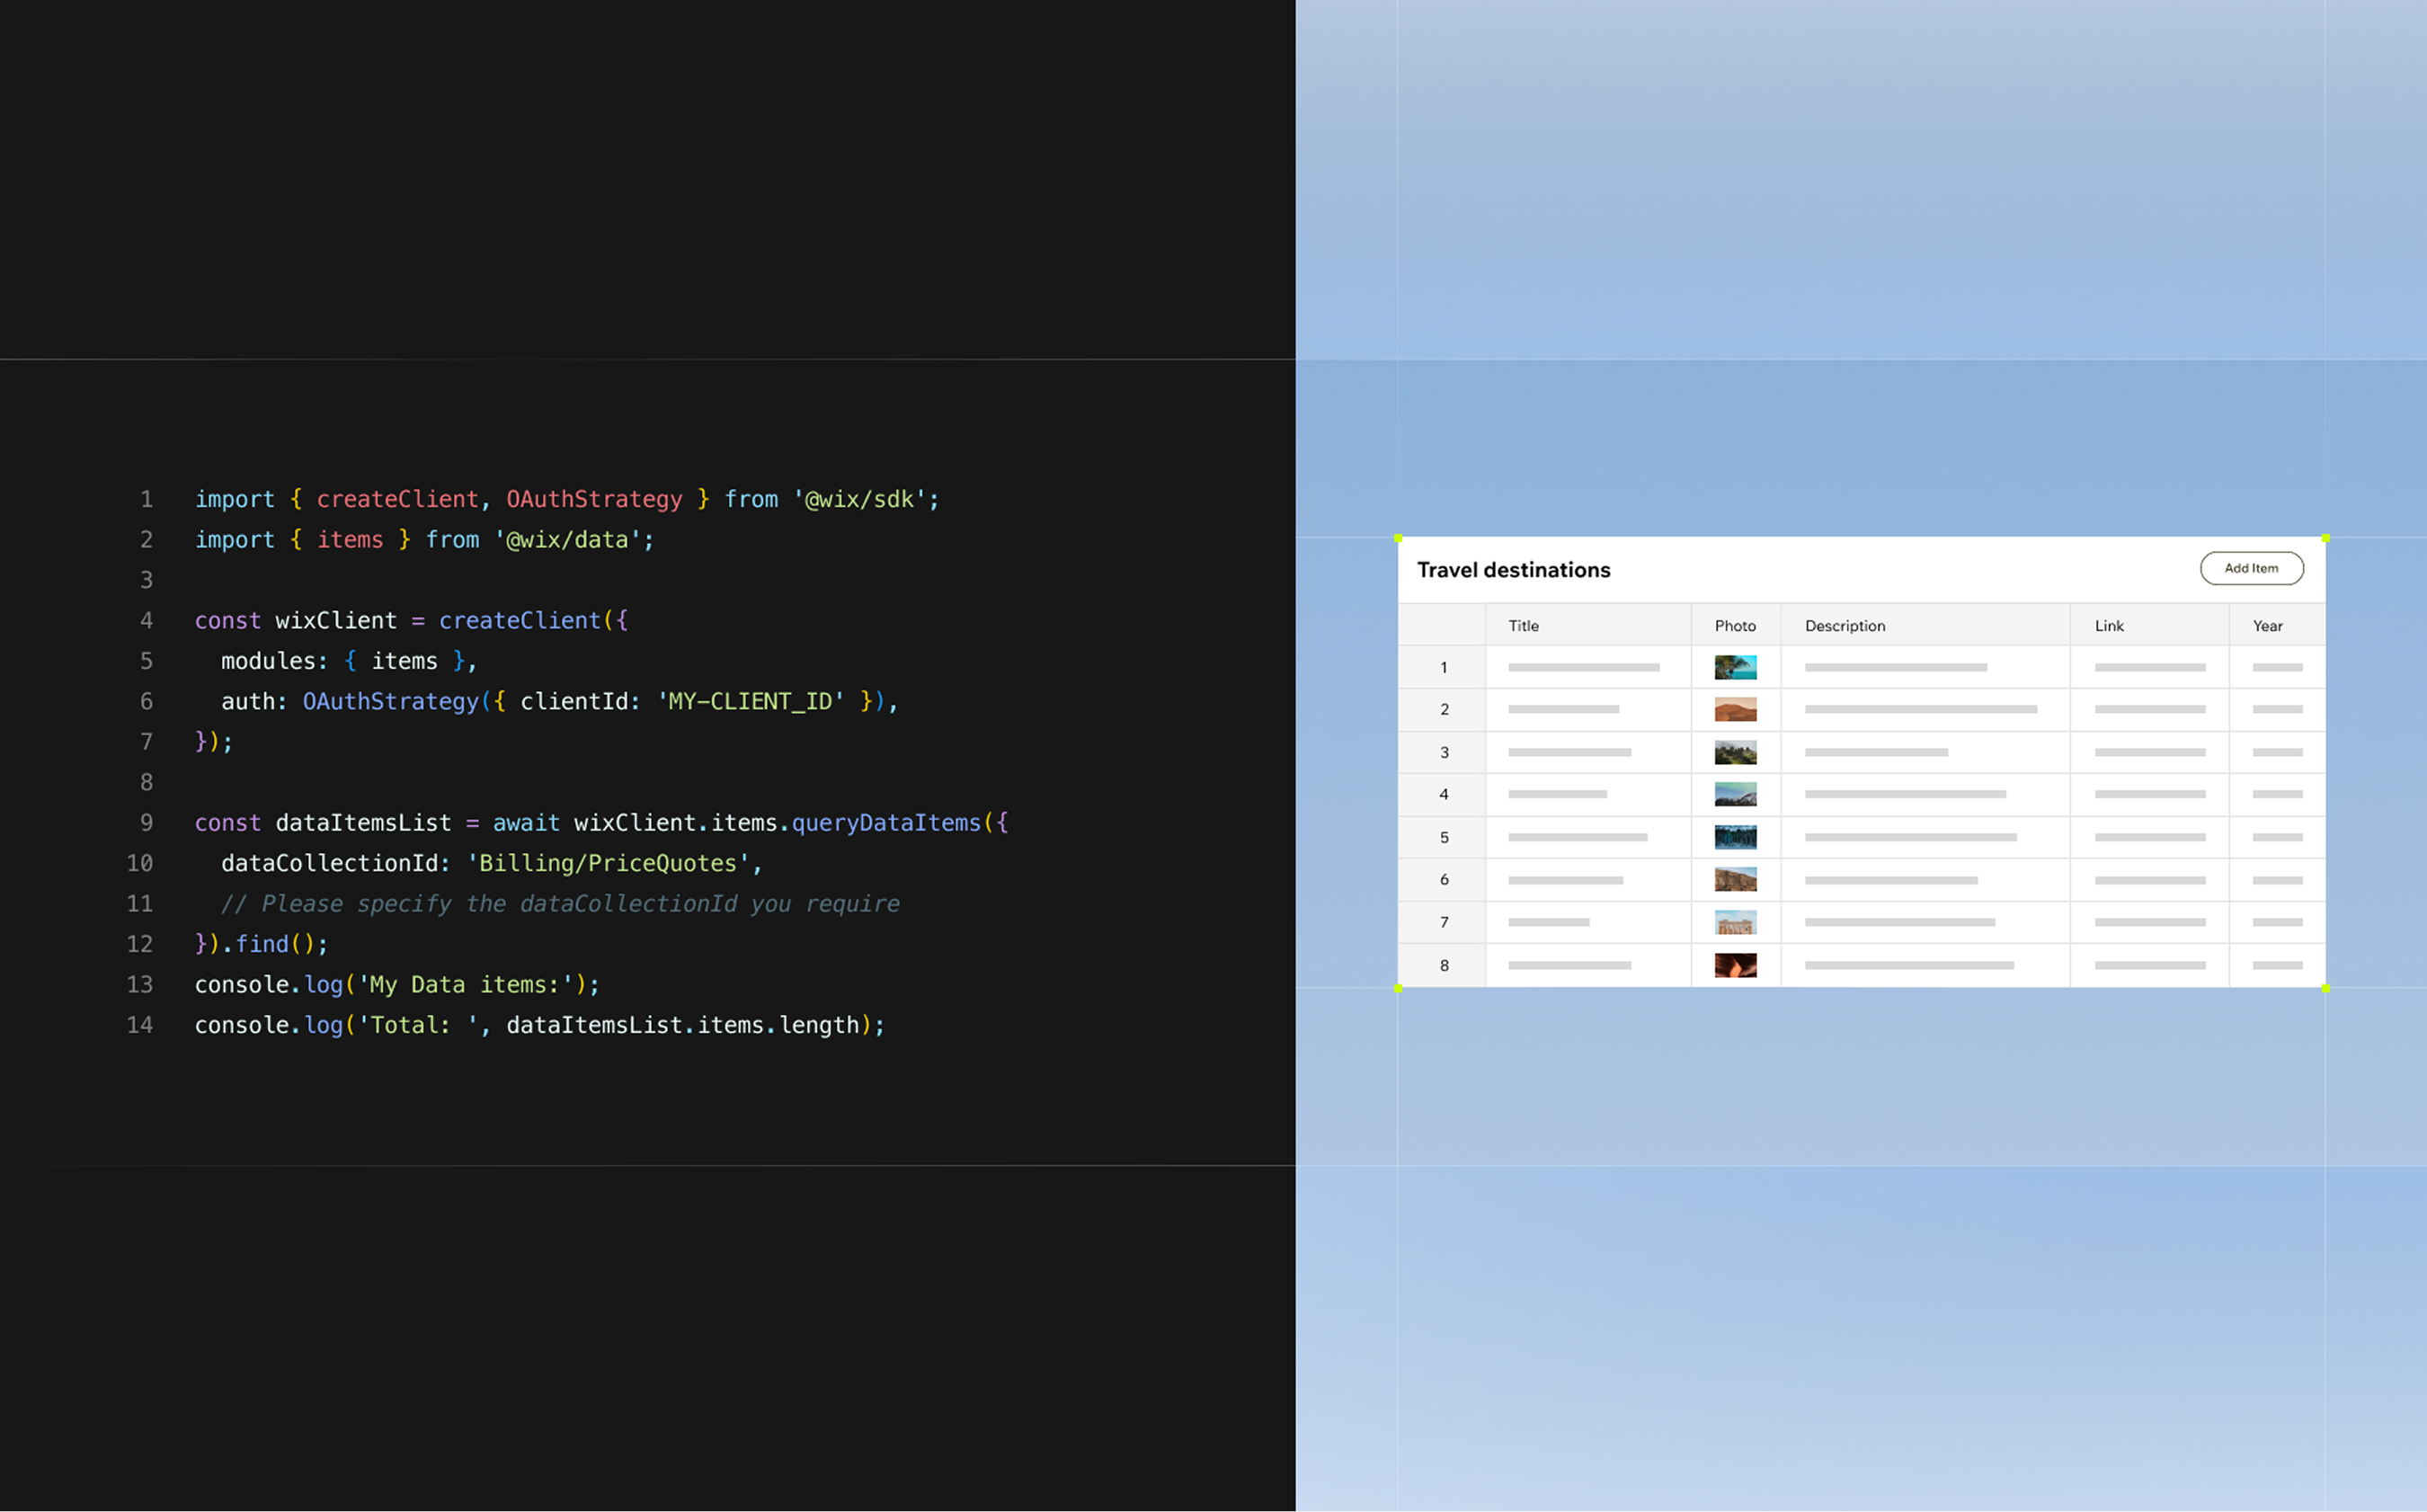
An SDK or API is what connects your actual application to the backend. It's the code that retrieves and saves data when someone uses your app. You can use both, with MCP helping Cursor build correctly and an SDK powering the finished app.
04. Keep keys and secrets in the right place
Store local development secrets in a .env file and add that file to .gitignore. For production, set your secrets in your hosting provider's environment settings or secrets manager instead of relying on your local file. Keep private API keys and database credentials on the server only.
Some services provide public keys or identifiers that are designed for browser code. Those are fine to expose. Frameworks like Vite and Next.js send variables with certain public prefixes to the browser, though, so never put a secret value in one of those variables.
05. Create the database and add project rules
Create the tables or collections from your data plan, set the fields and data types and configure access permissions before you connect any screens. Track schema changes through migrations or your backend's equivalent process, so changes Cursor makes in development don't leave your production database out of sync.
Then add a project rules file in the .cursor/rules folder using the .mdc format. Use it to tell Cursor which backend you're using, which SDK and docs to follow and which fields exist. For simpler instructions, an AGENTS.md file in your project root also works. Rules reduce repeated mistakes, but they don't guarantee Cursor will never invent a field, so keep the real schema and docs available and check its work.
06. Replace mock data with real data
Swap one screen at a time. Ask Cursor to connect the product list to the real database, test it, commit, then move to the next screen. Check the loading, empty and error states on each screen too, not just the version with perfect data.
07. Add login and permissions
Authentication and authorization sound similar but solve different problems. Authentication verifies who the user is, like a customer logging in with their email. Authorization decides what that user can see or change, like letting them view their own orders but not anyone else's.
A successful login doesn't automatically protect anyone's data, so set up authorization rules as well. Depending on your backend, that might be row-level security in the database, role-based access or checks in your server-side code. Test it by logging in as two different users and confirming neither can see the other's records.

08. Test and deploy
Your frontend and backend don't always deploy together. Your frontend might live with one hosting provider, your database with another, your serverless functions on the frontend host and your business backend with a managed service. Uploading the frontend doesn't make the rest work on its own, so set production environment variables wherever each piece runs.
Then test beyond the happy path before you share the app.
What happens when someone submits an incomplete form?
What happens if the database is unavailable?
Can one user reach another user's records?
Does a payment webhook process an order only once?
Does the app still work after a page refresh or an expired session?
A few prompts that keep Cursor on track during these steps.
Plan before you build. "Read my components and propose a data model for this app. Don't write code yet."
Work in small steps. "Connect only the products page to the backend and leave every other file unchanged."
Stay grounded in the docs. "Use the backend's documentation to write this query and tell me which fields you used."
Check your security. "Review this project for exposed keys and missing access rules and list what to fix."
How it actually works: Cursor doesn't automatically retain every detail of previous conversations. Project rules keep your key instructions available across sessions, so you don't have to explain your backend setup every time you start a new chat.

How to keep your Cursor backend secure
Security is where AI-built backends most often go wrong. The code works, so it looks finished, yet a single exposed key or missing authorization rule can leave your whole database open. Run through this checklist before you share your app with anyone.
Secret keys stay on the server. Search your project for key strings and move any private keys out of browser code.
Elevated credentials stay private. Server keys that bypass user permissions should only run in trusted server-side code.
Authorization rules are set. Every table or collection with user data should limit who can read and write it, using row-level security or server-side checks.
.env stays out of Git. Check your repository history too, since a key committed once stays visible.
Inputs are validated on the server. Never trust data just because the frontend checked it.
Card details aren't yours to store. Don't collect or store raw card details yourself. Use a trusted payment provider and its secure payment flow.
If a key does leak, rotate it right away in your backend's dashboard and update it everywhere it's used. Then check your repository history and deployment logs for other copies, since deleting the commit isn't enough.
Keep in mind: asking Cursor to "make it secure" is a good start, not a finish line. Treat its security review as a second opinion and confirm the important settings yourself in your backend's dashboard.
How to add a backend to your Cursor project with Wix Headless
If you've already built your frontend in Cursor, Wix Headless lets you keep it and connect it to a full business backend without starting again. You keep coding in Cursor, add the business solutions you need and manage products, bookings and content from one Wix dashboard.
Open your project in Cursor. Make sure Cursor can see your project files and that your latest changes are committed, so you have a clean starting point.
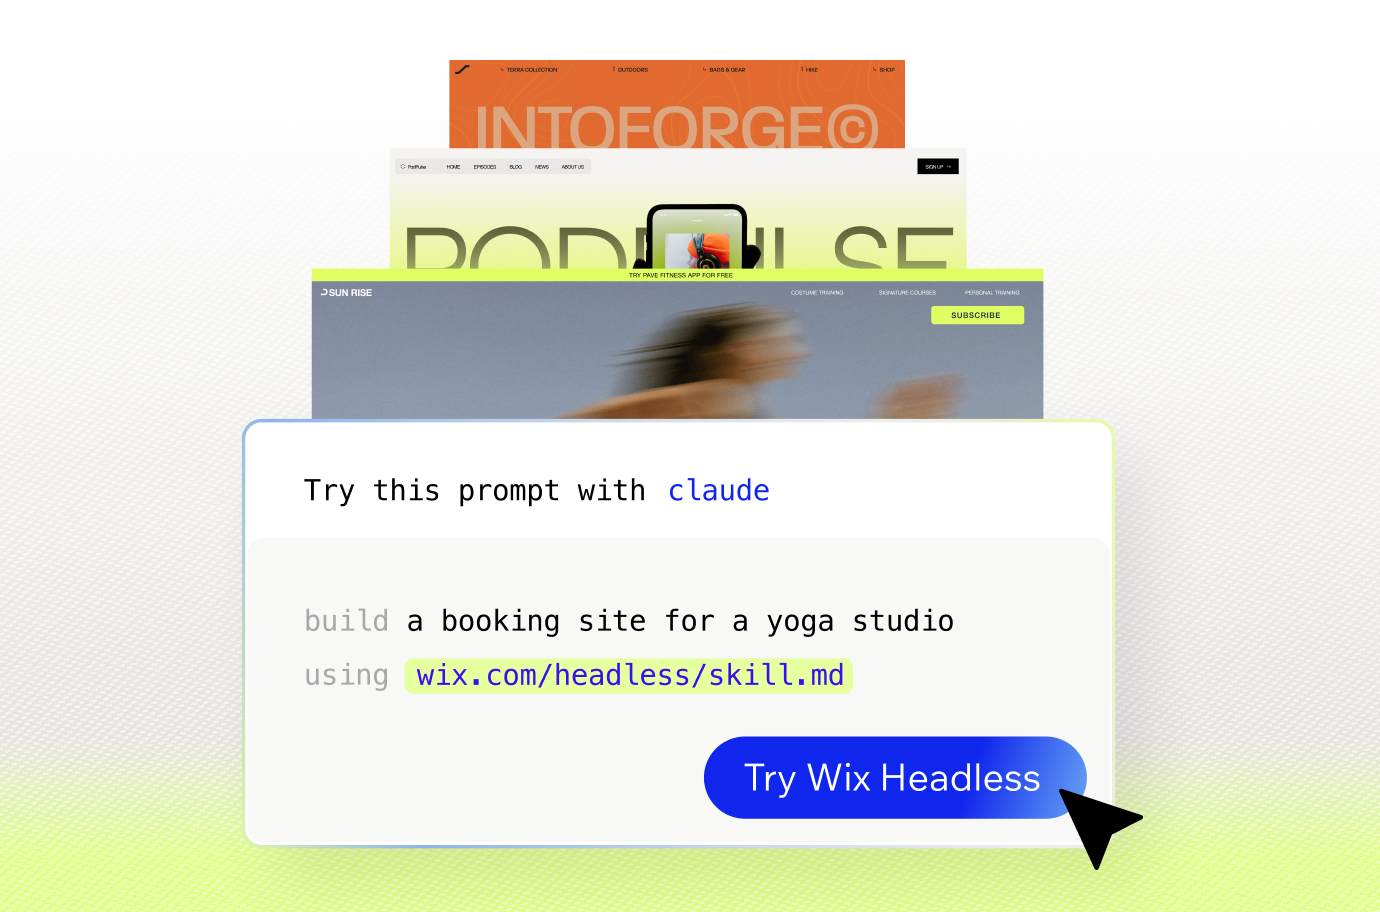
Paste one prompt with the skill. Ask Cursor to connect your project using the Wix Headless skill and name the business solutions you want, for example "Connect my project from this folder to Wix business solutions using wix.com/headless/skill.md. Add Wix Stores and a CMS." There's nothing to install first.
Let the skill guide the setup. The skill gives Cursor step-by-step instructions to connect your existing site to Wix, wire in the solutions you asked for and publish it. Cursor works through those steps with you, so review each change as it goes.
Manage your business from the dashboard. Your project appears in your Wix dashboard, where you add products, services and content. Keep prompting in Cursor to change the design or add features.
By default, this path publishes your site on Wix, so Wix hosts your frontend as well as running the business backend. If you'd rather keep hosting your frontend somewhere else, Wix Headless also supports a self-managed setup, where your site connects to the same Wix backend through its APIs.
Planning to keep working with Wix from Cursor? The Wix Plugin is worth adding. It bundles Wix skills, including the Headless skill, with a connection to Wix documentation and supported management actions, so Cursor can keep helping with your Wix project long after the first setup.

Wix Headless runs on the same infrastructure that millions of businesses on Wix rely on, with automatic scaling and no DevOps work on your side. Connecting your project is free. Wix Headless pricing has no developer tiers or API fees. A Premium plan lets you accept payments, connect a custom domain and access advanced analytics.
Expert tip from Rafal Koziarz, developer of Solitairec:
"It feels like I don't have any backend to test. I rely a lot on the SDK, which makes development a lot smoother."
Worth being clear on: Wix Headless runs your business backend. The frontend stays yours to build and own in Cursor. The connection starts with one prompt, but how polished your design ends up still depends on what you build on the frontend.
Ready to turn your Cursor prototype into a real business? Connect it to Wix Headless with one prompt.

Cursor backend FAQ:
Can Cursor build a backend by itself?
Cursor can write backend code, design database tables and set up login flows. With Cursor Apps on eligible paid plans, its cloud agents can also host apps with a database, sign-in and secrets. For business features like checkout, bookings or a CMS, you still connect a backend service that provides them.
Can I add a backend to an existing Cursor project?
Yes. You don't need to rebuild your frontend. Choose a backend that fits your project, connect it through its SDK or API and replace mock data one screen at a time. With Wix Headless, you can connect an existing project with one prompt that includes the Wix Headless skill.
What's the difference between MCP and an SDK in Cursor?
MCP connects Cursor's AI agent to a backend's documentation and supported tools while you build. An SDK is code inside your app that talks to the backend when people use it. MCP helps Cursor write the right code. The SDK is what makes the finished app work.
Can I use Cursor with a backend hosted somewhere else?
Yes. Cursor doesn't require a particular backend provider. It can work with external backend services through their APIs and SDKs. Many providers also offer docs or MCP servers that help Cursor build against them correctly.
Do I need to know how to code to add a backend in Cursor?
You don't need to be a backend engineer, but basic familiarity with your project's files helps a lot. Cursor can explain each step as it works. Managed backends also remove most of the server setup. Learning a few basics about databases and API keys will make your results far more reliable.
Where should I put API keys in a Cursor project?
Keep local development keys in a .env file that's listed in .gitignore. Set production keys in your hosting provider's environment settings. Private keys belong in server-side code only. Variables with a public prefix in frameworks like Vite or Next.js reach the browser, so never put secrets in them.
How do I stop Cursor from inventing database fields?
Give Cursor your real schema and the backend's docs, through an MCP server where one is available or by sharing them directly. Add a project rules file that lists the fields that exist and ask Cursor to name the fields it used after each change. Rules help, but always check its work against the schema.
What's the best backend for a Cursor project?
It depends on what the project does. For custom data and login, a backend as a service is usually quickest. For a store, a booking site or content-heavy pages, a complete business backend such as Wix Headless saves you from building checkout and scheduling yourself.
Is AI-generated backend code safe to use in production?
It can be, but only after review. AI tools sometimes expose keys or skip authorization rules, so check security settings yourself, test with multiple user accounts and handle payments through a trusted provider before you launch.


