- Ruth Kogan

- Jan 21
- 5 min read
Updated: Jan 27

Your birthday invitation is the first taste of the fun to come, building excitement long before the candles are lit. Creating a great invitation does more than just share details it captures the personality of the guest of honor and gets everyone excited to celebrate.
This guide shows you how to design an invitation that looks fantastic and makes managing your guest list simple, using an invitation maker with ready-made templates you can customize. You’ll learn how to combine your creative ideas with all the essential information to create something truly special.

Make every celebration unforgettable with our customizable invitation maker. Explore a variety of invitation designs and personalize every element to match your unique style and event theme.
TL;DR: How to make a birthday invitation
Creating an eye-catching birthday invitation is simple when you break it down. Here's a quick look at the steps to get you from a blank page to a finished design.
Step | Action | Why it matters |
01. Pick a theme | Decide on a style, color scheme or motif. | Sets the tone and makes design choices easier. |
02. Choose an invitation maker | Use an invitation maker like Wixel. | Gives you professional results without the hassle. |
03. Write the details | Add the what, who, when and why. | Ensures your guests have all the crucial info. |
04. Design your invite | Select fonts, colors and graphics. | Brings your theme to life and grabs attention. |
05. Share it with guests | Send via email, text or social media. | Gets your invitation into the hands of your friends. |
Explore the best invitation makers to design stunning invites in minutes.
How to make a birthday invitation in 5 steps
A memorable invitation is a mix of smart design and clear information. Follow these five steps to create an invite that gets your guests counting down the days.

01. Decide on your party theme
Before you jump into designing, think about the vibe of the party. Is it a casual backyard barbecue, a themed costume party or a milestone celebration at a chic venue? Your theme will guide your design choices, from the color palette to the imagery.
Establishing a clear theme from the start makes the whole process smoother. It ensures your invitation, decorations and even the party's playlist all feel connected. This consistency gets guests in the right mindset and tells them what kind of event to expect.
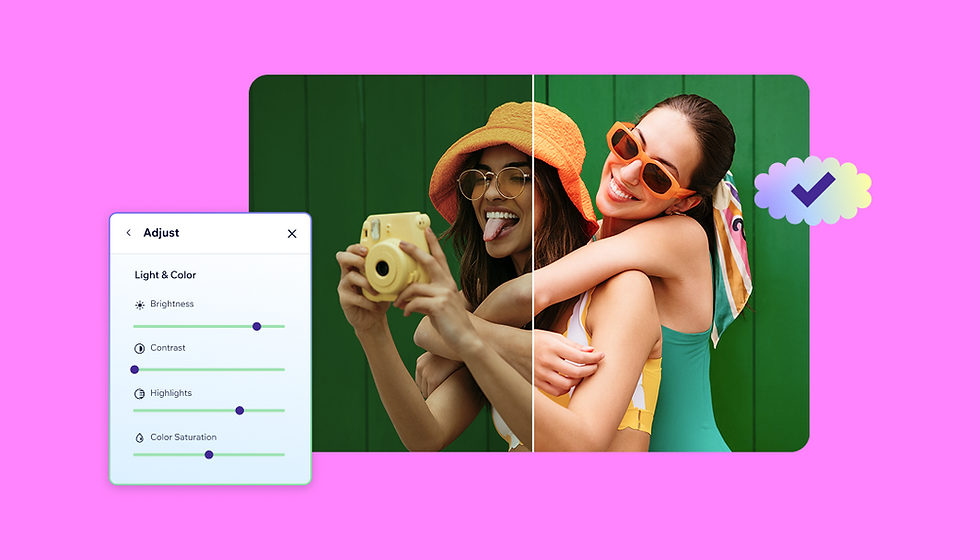
02. Choose an invitation maker
The right tool can make all the difference in creating an invitation that looks polished and unique. You want an invitation maker that’s easy to navigate but offers powerful design features. Wixel is a perfect fit, providing a birthday invitation maker that helps you create birthday invitations effortlessly.
Using a dedicated invitation maker. It also simplifies sending your invite digitally or preparing it for print, giving you the flexibility to share it however you like.
You can also use a birthday invitation template to create your invitation.
03. Write down all the party details
An invitation’s main job is to inform. Make sure you clearly state who the party is for, the date and time and the full address of the venue. Little details can make a big difference, so include a start and end time if applicable.
Keep the invitation wording concise and easy to read. If you need to share extra information, like gift registry details or specific directions, consider adding a link to a simple event page. This keeps the main invitation clean and focused on the most important facts.
Every birthday invitation should include five key pieces of information:
The name of the person being celebrated
The date of the party
The start time, the location
RSVP details (a contact person and a "reply by" date).
Anything else, like a dress code or gift information, is optional.
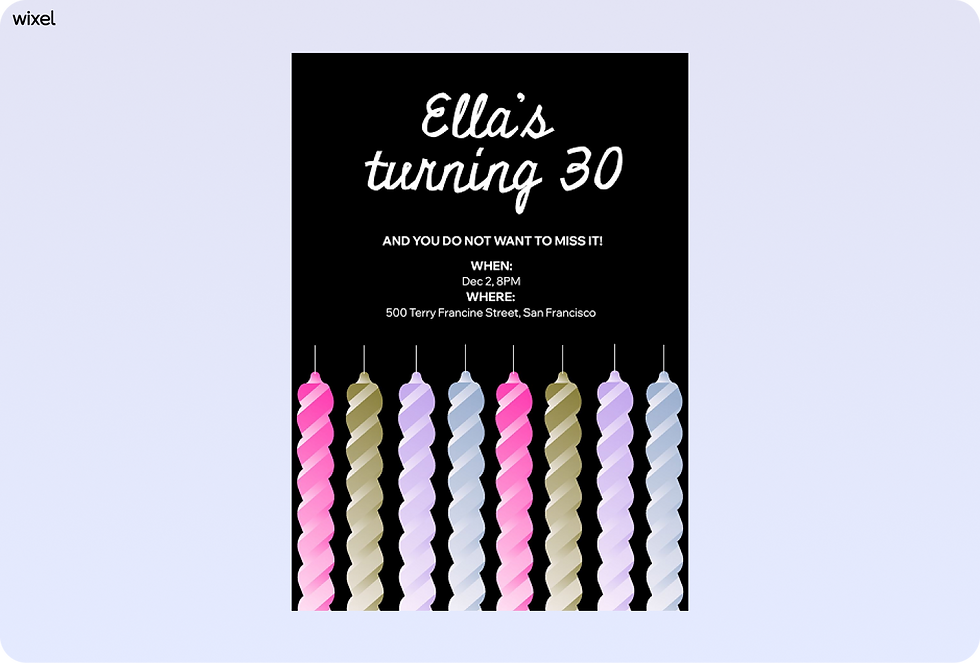
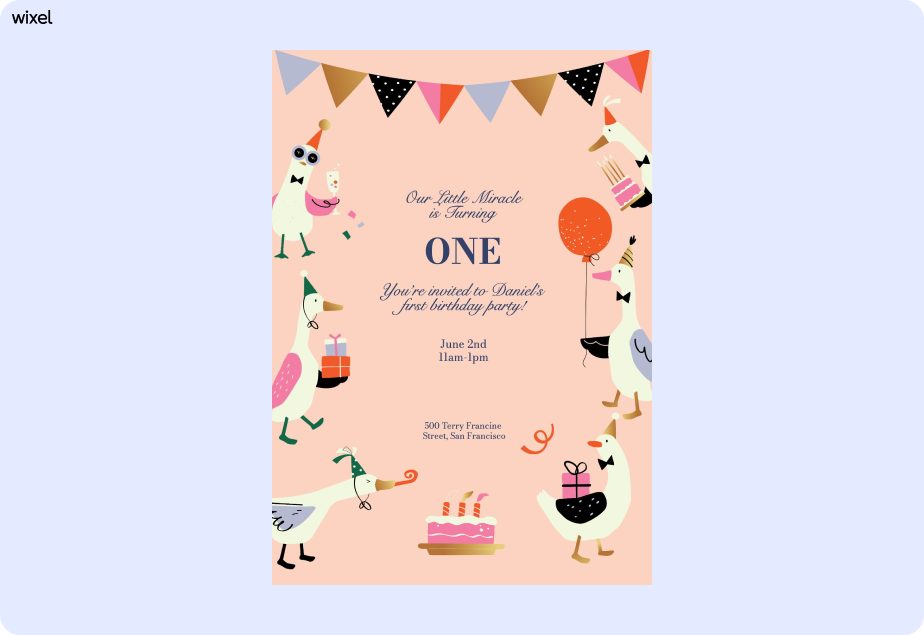
04. Design your birthday invitation
Now for the fun part. Start by choosing fonts that match your theme—playful for a kid's party or elegant for a formal dinner. Use a clear visual hierarchy by making the birthday person’s name the most prominent element on the card.

Don't be afraid to use color and graphics to make your design pop. Incorporate photos of the guest of honor or illustrations that match your party’s theme. Just remember to leave enough white space so the design feels balanced and uncluttered, not crowded.
05. Share it with your guest list
Once your design is complete, it’s time to send it out. Digital invitations are fast, eco-friendly and easy to track. You can send them via email, text message or as a private social media event. This allows guests to RSVP with a simple click.
When you send the invite, add a personal message to make your guests feel welcome. Set a clear RSVP deadline so you can get an accurate headcount for food, drinks and party favors. This small step helps your party planning go much more smoothly.
Sending invitations via text or a messaging app is very common, especially for casual gatherings. It’s fast, direct and makes it easy for guests to respond quickly. Just be sure you have the correct contact information for everyone on your list.
Learn more:
How to make a birthday invitation FAQ
What information should a birthday invitation include?
A birthday invitation should include the name of the guest of honor, the date, time and location of the event, RSVP details and any special instructions such as dress code or gift preferences.
Can I make a birthday invitation online for free?
Yes, many online tools like Wixel offer free birthday invitation templates you can customize and share digitally. Some platforms also provide premium features for advanced designs or printing options.
What size should a birthday invitation be?
Common birthday invitation sizes include 5×7 inches for printed cards and square or vertical layouts for digital invitations. The best size depends on whether you plan to print or share your invitation online.
How do I send a digital birthday invitation?
You can send a digital birthday invitation via email, messaging apps, or social media. Most invitation makers let you download a shareable link or image optimized for online use.
What style of birthday invitation should I choose?
Choose a birthday invitation style that matches the theme and age group, such as playful designs for kids, elegant layouts for adults, or themed designs for milestone birthdays.