- May 13, 2020
- 5 min read
With dozens of face filters and effects, social media has made it easier than ever to incorporate augmented reality into our daily lives and connect with others in new and engaging ways.
In this tutorial, led by artist Ziv Schneider, you’ll learn how to use Spark AR Studio to program AR effects like face tracking, plane tracking and gesture recognition to create custom filters compatible with Facebook and Instagram. By the end of this lesson, you’ll be able to publish the new effects and watch your friends interact with them on their own social media accounts.
Ziv Schneider is an artist and designer who expresses her creativity through the use of emerging technologies in non-fiction storytelling. Her work explores technologies such as 3D reconstruction, volumetric photography, VR and AR. An ITP alum, Ziv is currently a creative technologist at the Brown Institute for Media Innovation at the Columbia University Graduate School of Journalism.
The tutorial is part of “Wix Playground Virtually Presents:” a curated collection of online workshops, talks and portfolio reviews, by creatives for creatives. This collaboration was advised by ITP graduates Regina Sofia Cantu de Alba and Michelle Hesse.
Steps:
Download and install Spark AR:
A new version of the software is released pretty much every week
The Facebook community page has a lot of useful resources and messages from the software development team.
Interface
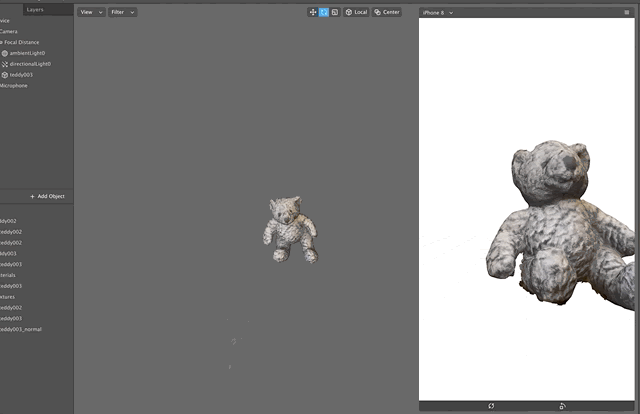
Launch the software and open a blank project.
The example projects are useful for learning how things are made and can be useful inspiration for other creative projects.

The interface is very similar to that of game engines such as Unity.
The Assets tab is where you can find your inventory of models, textures and materials. This is where imported files appear. The Scene tab is where the objects used in the effect appear.

Navigation
option+drag to pan, command+drag to orbit

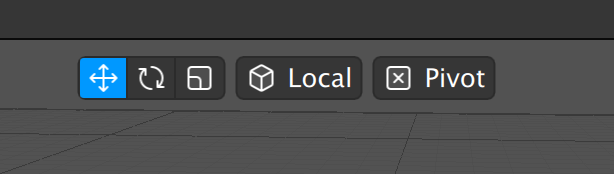
You will be using these controls to move, rotate and scale objects in your scene.
On the top left bar, you will see icons related to the simulations of your effect. Click the camera icon. You can choose to use your webcam or one of the videos that come with the software. You can also upload your own simulation video.

Face tracking
Let’s start building an effect by adding a Face Tracker. In the Scene tab, select Add Object and select the tracker from Scene Understanding. You can also type in the name of the component you’re looking for. Another way to add components is by selecting Add from the top menu toolbar.


If you look at the Inspector on the right you’ll see that what is programmed here will be applied to the first face identified by the camera. Effects can support up to 5 faces. For each ace an additional Face Tracker is needed, and for each one the dropdown name should be changed to “Face2,” “Face3,” and so on.

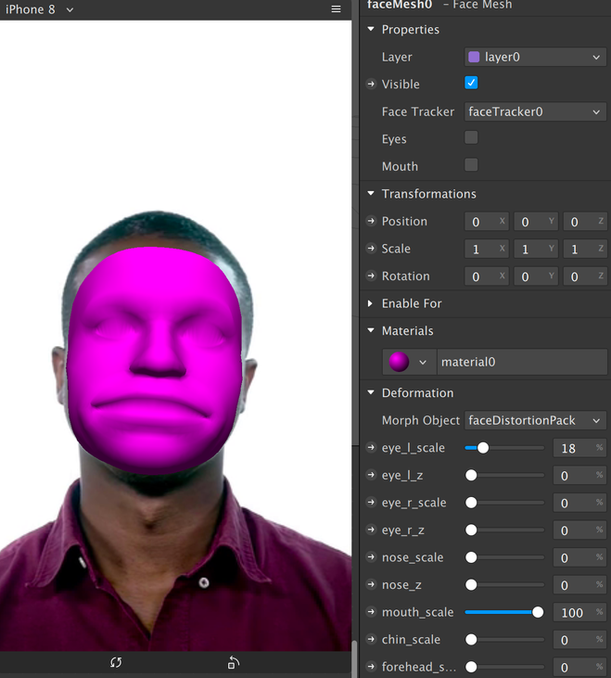
Now, everything nested under the Face Tracker will automatically be tracked to your face. Let’s Add a FaceMesh. The FaceMesh should automatically fit to your face and appear with a placeholder material. If the mesh is not tracked to the face, check the nesting to see that it’s under the face tracker.

Materials
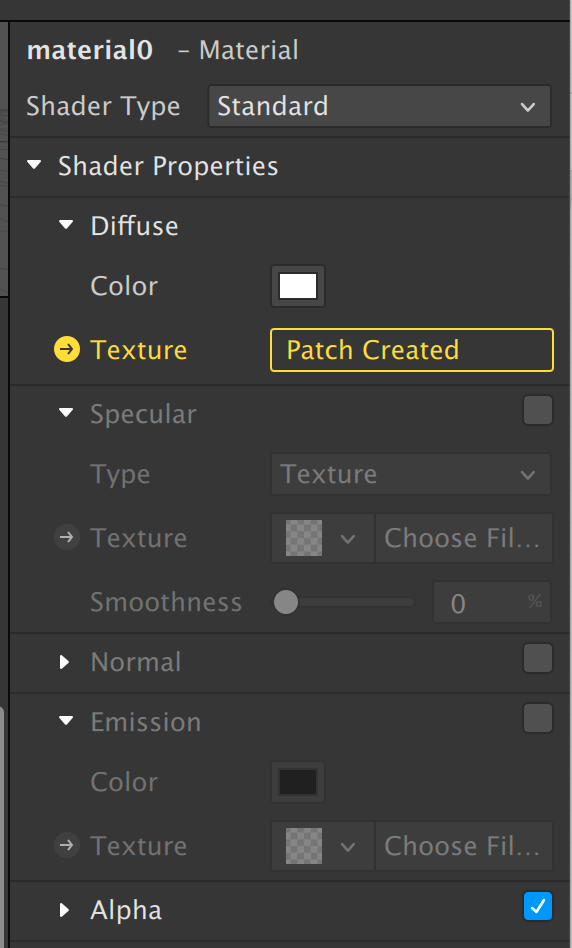
Now let’s apply a material to your mesh. Select the Face Mesh and Click the + sign next to Materials in the inspector.

After adding the material, you can start modifying it, first by selecting Shader type. Flat, for example, isa material that is not affected by lights and has no depth feel to it. This would be good to use on a background image.
The Physically-Based shader is good for things like metallic materials. Face Paint and Blended are good for makeup effects, and Retouching will smooth your skin. For now let’s work with a Standard shader.

Changing the color will change the color of your mask. You can also apply an image texture by importing it to our project and selecting it from the Texture dropdown.

To design the image texture, you can use the Face Assets available for download through the top menu > Help > Download Face Assets. In the packet, you have both meshes and textures to work with.


The images are helpful to design a texture while knowing exactly how it will be placed on the face. You can take these into Photoshop or other software and draw an additional layer, like this file for lipstick for example.
In the Mesh part of the packet, you’ll find the reference face mesh. You can use these meshes to create deformation of the face. In the folder I shared with you, under distortion - you’ll find faceDistortionPack.fbx, which is a collection of facemeshes deformed in different ways. You can import this asset into the project and then select it under Deformation in our FaceMesh. Using the sliders, you can choose how you want to deform the face. One useful tool you can use to create deformations is Sculpt GL.


Alpha mask
If you want to soften the edges of the face mask, you can import the file “faceMeshMask” and apply it to the Alpha of the material.

Textures can also be animated in different ways. One way is by adding an image sequence or
Sprite Sheet animation. Let’s import “loader_spriteSheet.png into your project.

Select the texture in the project and change the details in the inspector in order to adjust it.

Next, create an Animation Sequence by clicking Add Asset in the Asset tab.
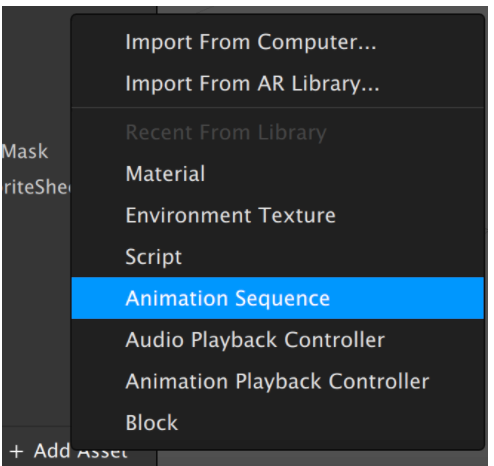
Then in the dropdown select the spritesheet animation.

Now this animation can be applied to your material’s alpha channel and animate your mask.

Next, let’s add an interaction to this by allowing the user to tap to change the color of the material. In Spark AR you can write javascript or use the visual node-based Patch Editor. You can also combine the two methods but we won’t get into that in this tutorial.
Interaction
In the top menu, select View > Show/Hide Patch Editor. This will open up another tab with a grid background. Double tap and you can type in component names. Type in Screen Tap and then select “Add Patch”.


Let’s add more nodes, like a Counter and an Option Picker. In Option Picker, click the gear icon on the bottom and select Color from the drop down. Let’s choose 5 different colors for your mask and enable the user to tap to swap them.

To bring the material texture to the patch editor, click the arrow left of the Texture in the inspector when selecting the material.
Now that you have all your nodes, let’s connect them.

Now, screen tapping should change the mask color. On your desktop, use Command to emulate a screen tap.

Now it’s time to test what you made. You can send it to your device by connecting through USB with the SparkAR app open, or you can send it directly to Instagram or Facebook.

Success! The tracking works. The top left menu takes you to all the effects you’ve sent to the player app and the different versions you sent over time. It also gives you an idea of the performance of your effect in terms of frames per second. The app is a much more organized way to work on AR effects than sending them directly to IG/FB, which generates a link that goes into your notifications.