Introduction
A custom element is a reusable web component element that you define in a JavaScript file that is either hosted by Wix or hosted on a server that is external to Wix. The custom element is defined using the standard ECMAScript 2015 class syntax.
This reference focuses on how you can use Velo to interact with custom elements. This reference provides only basic instructions for actually creating custom elements. For complete instructions and examples, see MDN documentation.
- This FAQ provides more information including some technical tips for getting started.
Get hands-on experience with the Custom Elements on our Hello Custom Element example page.
Custom Element Lifecycle with Velo
The general flow for working with custom elements and Velo is:
- Code the custom element and its behavior in a JavaScript file using any IDE.
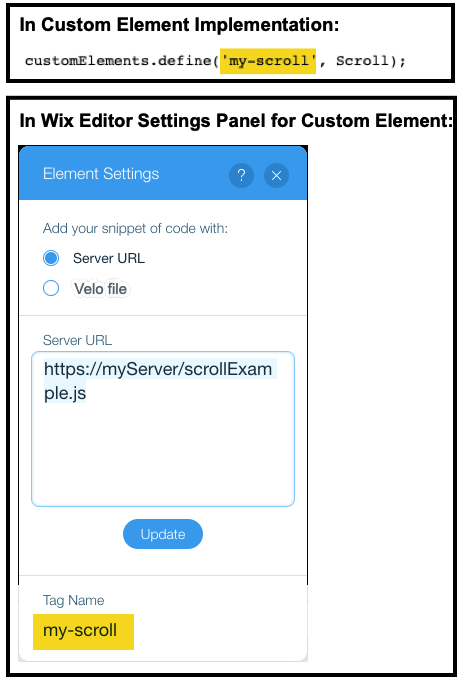
- In the Wix Editor's Add panel, add a custom element to the site. In Choose Source's Element Settings, connect the custom element's code to the custom element added to your page on the site.
- Using Velo, set up interactions between your site and the custom element. You can code event handling and additional functionality for the custom element.

You can define seoMarkup for SEO support on custom elements.
Notes:
- Custom elements don't work when previewing your site.
- Custom elements don't have a defined width, however, you can define the width inside its class constructor. For example, add
this.style.width = '726px';inside your class constructor, where'726 px'is the width of your specific custom element.
Limitations
- Custom elements are supported only for premium Wix users on sites with their own domain and with Wix ads removed.
- See this FAQ for more prerequisites and limitations.
Was this helpful?