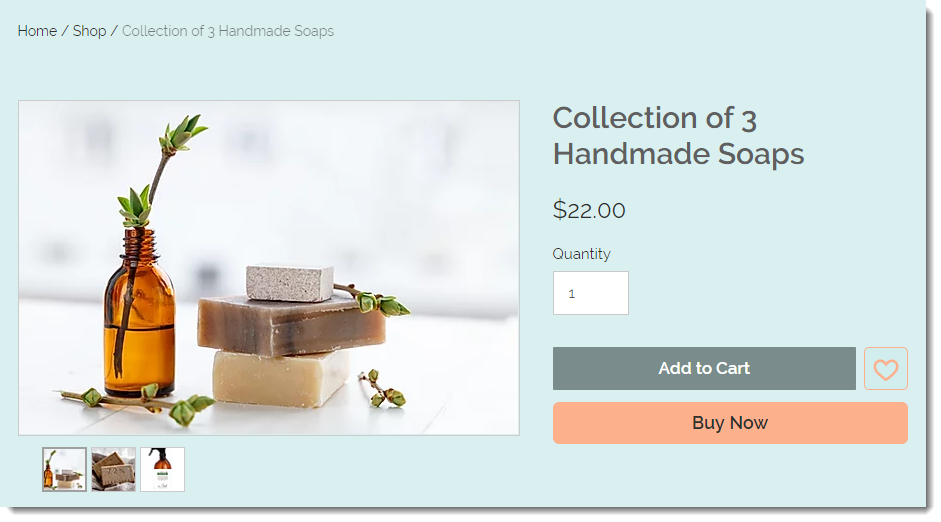
The Product Page is a dynamic page which displays detailed information about each of your products.
The page's design is always the same, but the contents (product images and text) changes according to which product is displayed.
Any customizations you make to the Product Page, such as changing the background color or button text, affect all products. Changes made to a product in the Store Products tab in your site's dashboard affect only that product.
Show me how to access the Product Page settings in the Wix Editor
- Click Pages
 on the left side of the Editor.
 - Click Store Pages.
- Select the Product Page.

- Click the Product Page in the Editor.
- Click Settings.
Show me how to access the Product Page settings in Editor X
- Click the Pages icon
 at the top bar of Editor X.
 - Scroll down and select the Product Page.

- Click the Product Page in the Editor.
- Click Settings.
In this article, learn how to:
Customizing the layout & image display
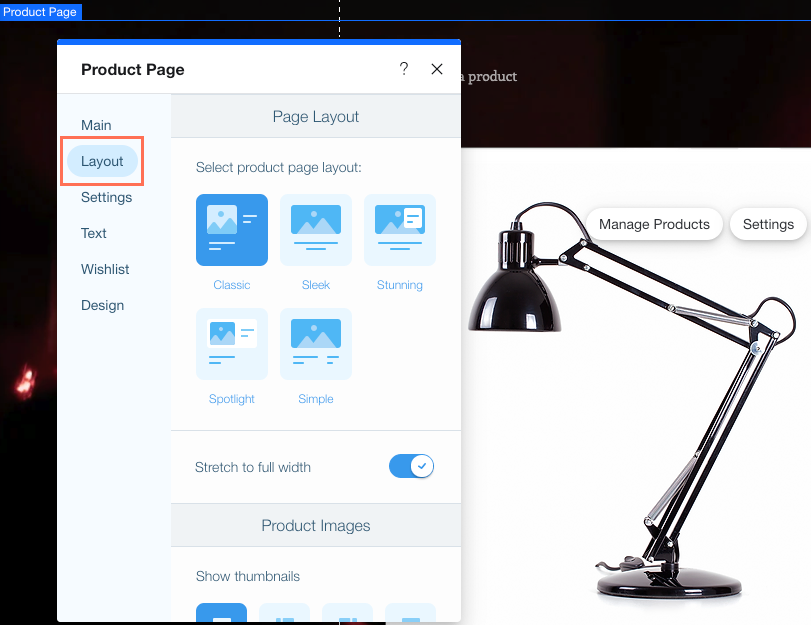
Click the Layout tab to select the best Product Page layout for your shop. Then, customize how images are displayed.
- Click the Layout tab and select a layout for the Product Page.
- Click the Stretch to full width toggle to enable it.
- Select how you want to display image thumbnails under Show thumbnails.
- Click the Image ratio drop-down and select a ratio.
- Select an option under How's image resized:
- Crop: Crops all images to the same size.
- Fit: Maintains the images' aspect ratios.
- Click the Zoom on image toggle to enable it (available for some layouts).
Note: To preview the zoom, go to your live site.
Tip: Click Reset to original layout to reset your Product Page to its original layout settings.
Customizing display settings
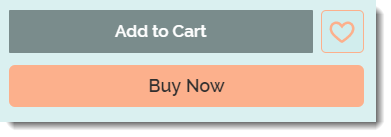
Click the Settings tab to select what elements you want to show or hide on the Product Page and customize the buttons.
The Product Page comes with the Add to Cart button enabled by default. You can also enable the wishlist icon as well as the Buy Now button.
Additionally, you can show customers the best payment method for them (instead of the Buy Button) based on the customer's location, payment history, and more. This option works if you have connected a relevant payment methods (e.g. PayPal, Apple Pay).
- Under What's Displayed?, deselect the checkbox next to any element you do not want to show.
- Customize the Add to Cart button:
- Click the Show Button toggle to enable or disable it.
- If enabled, select where the customer is directed when the button is clicked:
- Show notification: A pop-up notification appears.
- Open Mini Cart: Mini-cart opens on the side of the screen.
- Go to Cart Page: Customers are taken directly to the cart page.
- Stay in Product Page: Customers stay on the Product Page. The button displays a checkmark to indicate that the product was successfully added.
- Customize the Buy Now button:
- Click the Buy Now toggle to enable it.
Note: When clicked, the customer goes right to checkout. Any products previously added to the cart do not appear in the checkout. - If enabled, you click the Change automatically by payment method toggle to replace the Buy Now button with relevant payment options, (e.g. PayPal, Apple Pay).
- Customize the social share icons:
- Hide all icons: Click the Display share icons to disable it.
- Show some or all icons: With the Display share icons enabled, click the checkboxes next to icons you don't want to display to deselect them.
Edit Product Page button text
Click the Text tab to edit any of the text options that can appear on the Product Page buttons.
- Add to Cart: Edit the main purchase button text.
- Buy Now: Edit the Buy Now button text.
- Subscribe Now: Edit the Subscribe Now button text. This button is displayed to customers if you sell product subscriptions. Learn more
- Out of Stock: The Add to Cart button text changes automatically to Out of Stock when there is no inventory. The font and color cannot be customized.
- Back in Stock: The Add to Cart button text changes automatically to Notify When Available when there is no inventory if back in stock notifications were enabled. Learn more
Adding a wishlist
A wishlist is a great way to let customers keep track of products they like. Customers click the wishlist icon to add an item to their personal list.
To get started, click Add Wishlist. The wishlist icon is added to the Product Page next to the Add to Cart button. A personal wishlist page appears in each customers personal Members Area.
For complete instructions on adding and customizing the wishlist, click
here.
Customizing the Product Page design
You can customize the colors, fonts, button styles and more to create a look that suits your store's vibe. To get started, click the Design tab.
Customize design options:
Select a color for each of the available options and drag the slider to change the opacity.
- Align product details (e.g. product name) left, right, or center.
- Select a text color and font for the text options:
- Product Name
- SKU
- Product Price
- Select a payment option appearance: Relevant for certain payment options such as Laybuy.
- Select a text color and font for the text options:
- Customize the product description:
- Select a font and color.
- Align the product description text left, right, or center.
- Limit the number of rows that appear and add a Show More button customers can click to see the full text. If checked, select the maximum number of rows to display before clicking Show More.
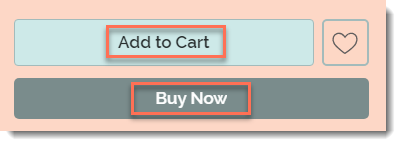
- Customize the Add to Cart button:
- Click to select a button style.
- Select a fill color and drag the slider change the opacity.
- Select a border color and drag the slider to change the border width.
Tip: Borders are available with some layouts. - Drag the slider to make the button more round or more square.
- Select a text font and color.
- Repeat the steps for the Buy / Subscribe Now button.
- Select a button style for the Payment Method button (e.g. PayPal, Apple Pay)
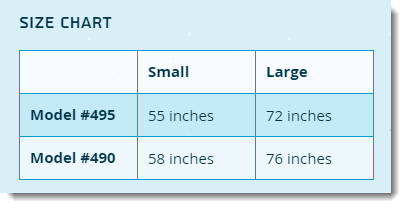
When you create a product, you can
add info sections to provide additional information (e.g. product specs or a size chart).
- Select a layout for your info sections.
- Customize the layout you selected. Available options vary according to which layout you chose.
- Customize an info section table:
- Select the table border color and drag the slider change the opacity.
- Select the table background color and drag the slider change the opacity.
- Select the color of even numbered rows and drag the slider change the opacity.
- Price placement: If you offer both subscription and a one-time purchases, select which option appears first.
- Select a subscription box color and drag the slider change the opacity.