Adding and Setting Up the Table Master App
5 min read
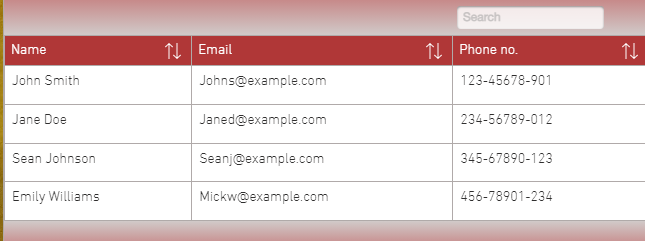
The Table Master app lets you easily create tables on your Wix site. You can upload Google Sheets spreadsheets or manually insert table data yourself. Your site visitors can view, sort, and filter the table data without the need to download it.
Use a table to:
- Organize content
- Create lists
- Sort contact details
- Update data
- and more

Step 1 | Add the Table Master app to your site
Add the Table Master app to your site. Once you've added the app, you can copy and paste the app to move it to another page on your site.
Note:
The Table Master app is not yet available for the Studio Editor.
To add the app:
- Click Add Apps
 on the left side of the Editor.
 - Search for the Table Master app in the search bar.
- Click Add to Site.
Step 2 | Enter your table data
You can choose to upload a Google Sheets spreadsheet or manually insert table data yourself.
To add your data:
- Select your table in your Editor.
- Click Settings.
- Click the Data tab.
- Add your data manually or upload a Google Sheets spreadsheet.
Add data manually

Upload a Google Sheets spreadsheet

Step 3 | Customize your table's layout and display
After you've added your data, you can customize the layout and display of your table. Select how many columns of data to display, the height of your table, and how your table will display on mobile devices.
To customize the layout and display:
- Click the Layout tab.
- Click the Column limit toggle to set whether your table displays a limited number of columns or not.
- Enabled: You can select the number of columns to display under Maximum columns to show. Drag the slider or enter a number in the field to change it.
- Disabled: There is no limit on the number of columns that are displayed on your table.
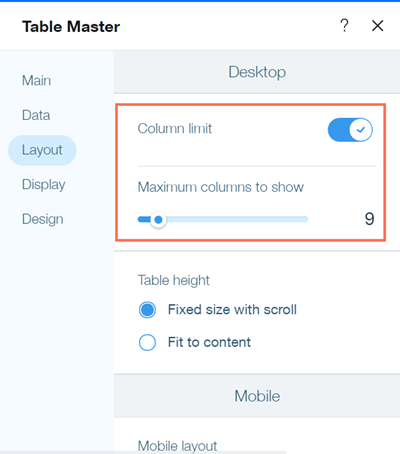
- Select your table's height under Table height.
- Fixed size with scroll: Your table will not adjust to your data. Your table will have a vertical scroll bar if there are more rows than can fit in the visible area.
- Fit to content: The height of your table will adjust depending on the number of rows it has.
- Select your table's behavior on mobile devices under Mobile layout.
- Expand: Your table will display the first column and visitors can click each row to view its contents.
- Scroll: Your table height is fixed and has scroll bars that visitors can use to see more data.
- Click the Display tab.
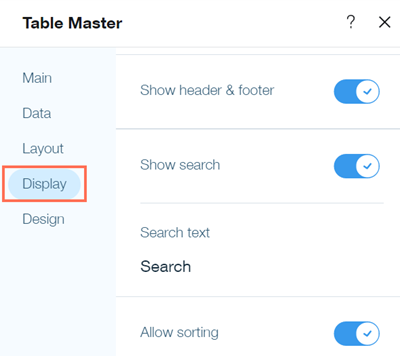
- Click the Show header & footer toggle to set whether your table displays a header and footer.
- Click the Show search toggle to set whether your table displays a search bar.
- (Optional) Customize the default text of your search bar under Search text.
- Click the Allow sorting toggle to set whether your visitors can sort the data in your table.
When enabled, visitors can click a column to sort in ascending or descending alphabetical or numerical order.
Step 4 | Customize your table's text and colors
The last step is to customize your table's fonts and text colors on the Design tab. You can set the colors of the table's background, borders, and rows, and customize the font used for the text on your table.
- Click the Design tab.
- Click Background color.
- Select a color for the background of your table under Primary color.
- Click the Use gradient toggle to set whether the background color of your table uses a gradient effect.
- (Optional) Select a second color for the gradient beside Secondary color.
- Select a border color, border width, and corner radius under Outer Border.
- Click Back.
- Click Table.
- Click Text to under Columns or Rows to customize the fonts used in your table. You can select separate text options for your rows and columns.

- Select background colors for your rows under Rows. You can set different colors for your odd and even rows, and set a hover background color.
- Select a color and width for the inner borders of your table under Inner Border.
- Publish your site to see the changes live.
Tip:
You can also search the Wix App Market for additional table apps or create a table using Velo by Wix.
Did this help?
|