Adding and Setting Up the Wix Countdown Clock App
3 min read
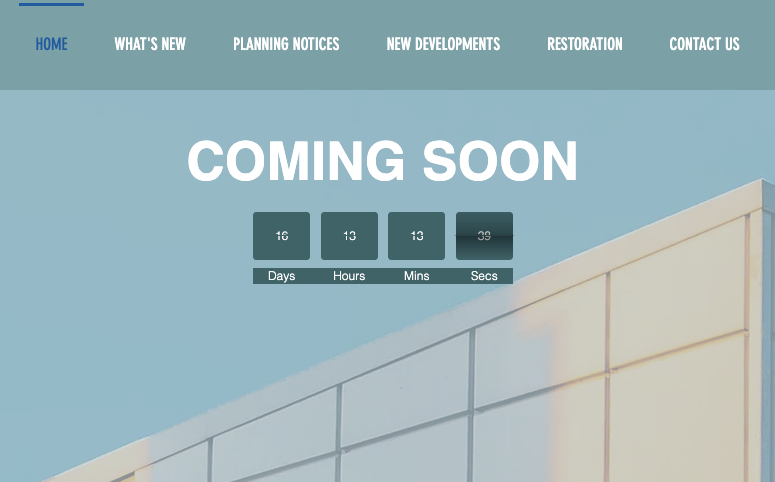
Add the Wix Countdown Clock app to your site and draw attention to your upcoming event. You can change the clock's design to suit your brand, and choose a message to appear after the countdown ends.
Step 1 | Add the Wix Countdown Clock to your site
Add the Wix Countdown Clock app to your site in Wix App Market.
To add the Countdown Clock to your site:
- Go to the Wix App Market.
- Type "Wix Countdown Clock" in the search bar and select Wix Countdown Clock from the drop-down menu.
- Click Add to Site. If you work on multiple Wix sites, select the relevant site.
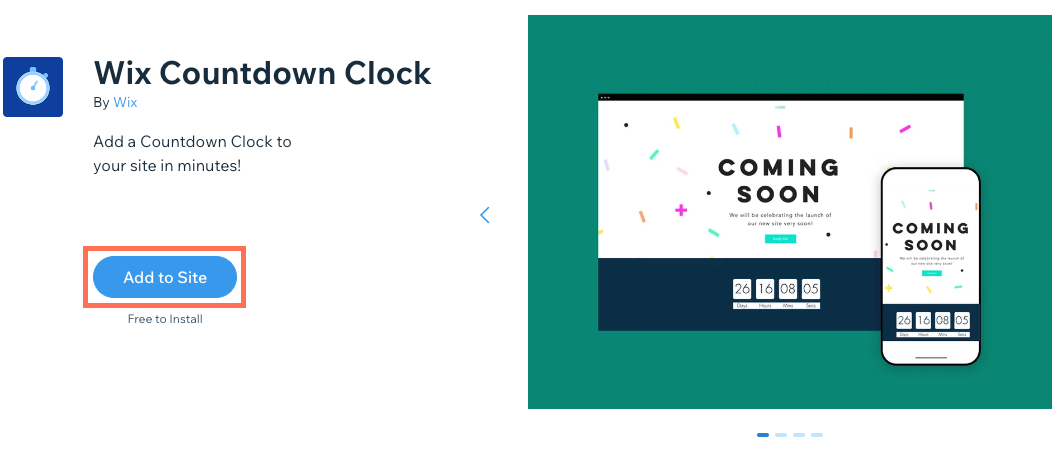
- Click Add to Site.
Step 2 | Set up your Countdown Clock
Choose a time and date for your countdown to end, and what happens when the countdown is over.
To update your Countdown Clock settings:
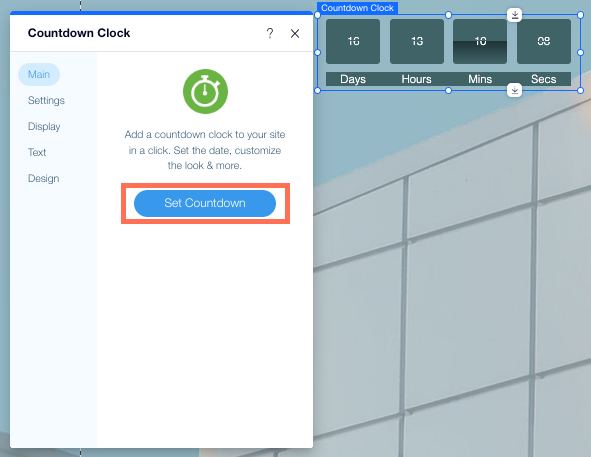
- Click the Countdown Clock in your Editor.
- Click Settings.
- Click Set Countdown.
- Set up your clock using the options:
- Set End Date: Select the day, month, and year the countdown ends.
- Set End Time: Select your time zone, hour, and minute the countdown ends.
- Counter Settings: Choose what happens when the countdown ends:
- Do nothing: The clock displays zero hours, minutes, etc.
- A message appears: A short message appears in place of the countdown.
Note: You can change the message text, see step 3 below.
Step 3 | Customize your Countdown Clock
In the Display, Text, and Design tabs, choose how your clock appears to site visitors before and after your countdown ends.
To customize your Countdown Clock:
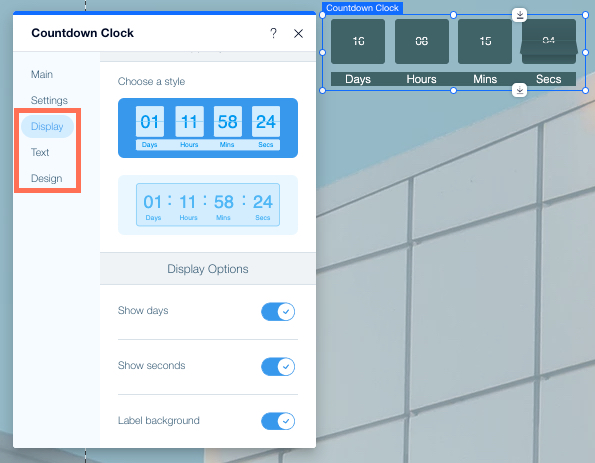
- Click the Countdown Clock in your Editor.
- Click Settings.
- Customize the display, text, and design using the options below:
Choose how to display your clock
Update the text in your clock
Change your design of your clock
Did this help?
|