Step-by-Step Guide to Creating Your Wix Site and Online Business
6 min read
Having all the right tools and features to help you build your own fantastic website and online business are the key to success. With Wix, you get a robust platform with all the built-ins you need to create the website you want.
In this article, you'll find an easy-to-follow checklist that guides you through the main steps of creating a site and setting up your online business. We will focus on creating a site with Wix Editor.
Step 1 | Establish your purpose and goals
Every site and business is unique and has a different purpose or goal. Start by clearly defining the purpose of your website. What do you want to achieve with it? Are you looking to showcase your work, sell products, provide information, or promote a cause? Understanding your goals will help you make informed decisions throughout the planning and design process.
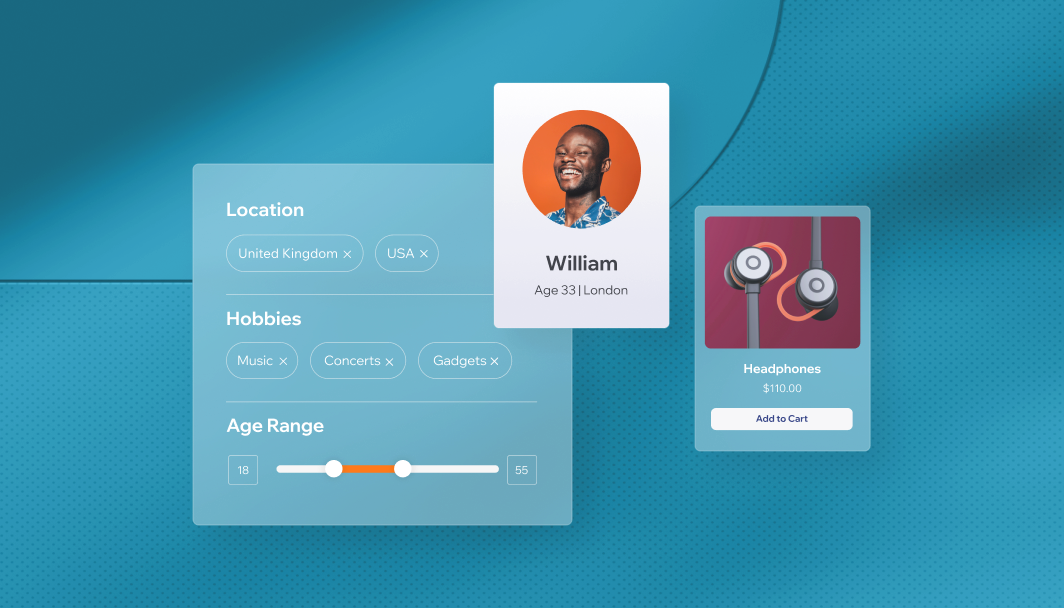
Step 2 | Define your target audience
Understanding your target audience is key to creating a website and business that resonates with them. Start by defining their demographics, such as age, gender, location, and income level. This information helps you tailor your content and design to their preferences.
Next, identify your audience's interests and needs. How will they reach your site and what are they going to look for once they get there? This allows you to create content that is relevant and engaging for them.
Step 3 | Research, research, research
Even if you have a clear vision for how your site should look and how your business should be presented, take time to research other sites for inspiration. It's a great idea to check out competitors' sites, as well as sites of businesses outside of your industry. You never know where you'll find inspiration.
When building your website, our template gallery is a great place to start. There you'll find there hundreds of site templates showcasing a wealth of styles and designs. You can also visit our Explore page to view inspirational sites built with Wix.
Step 4 | Set up your business dashboard
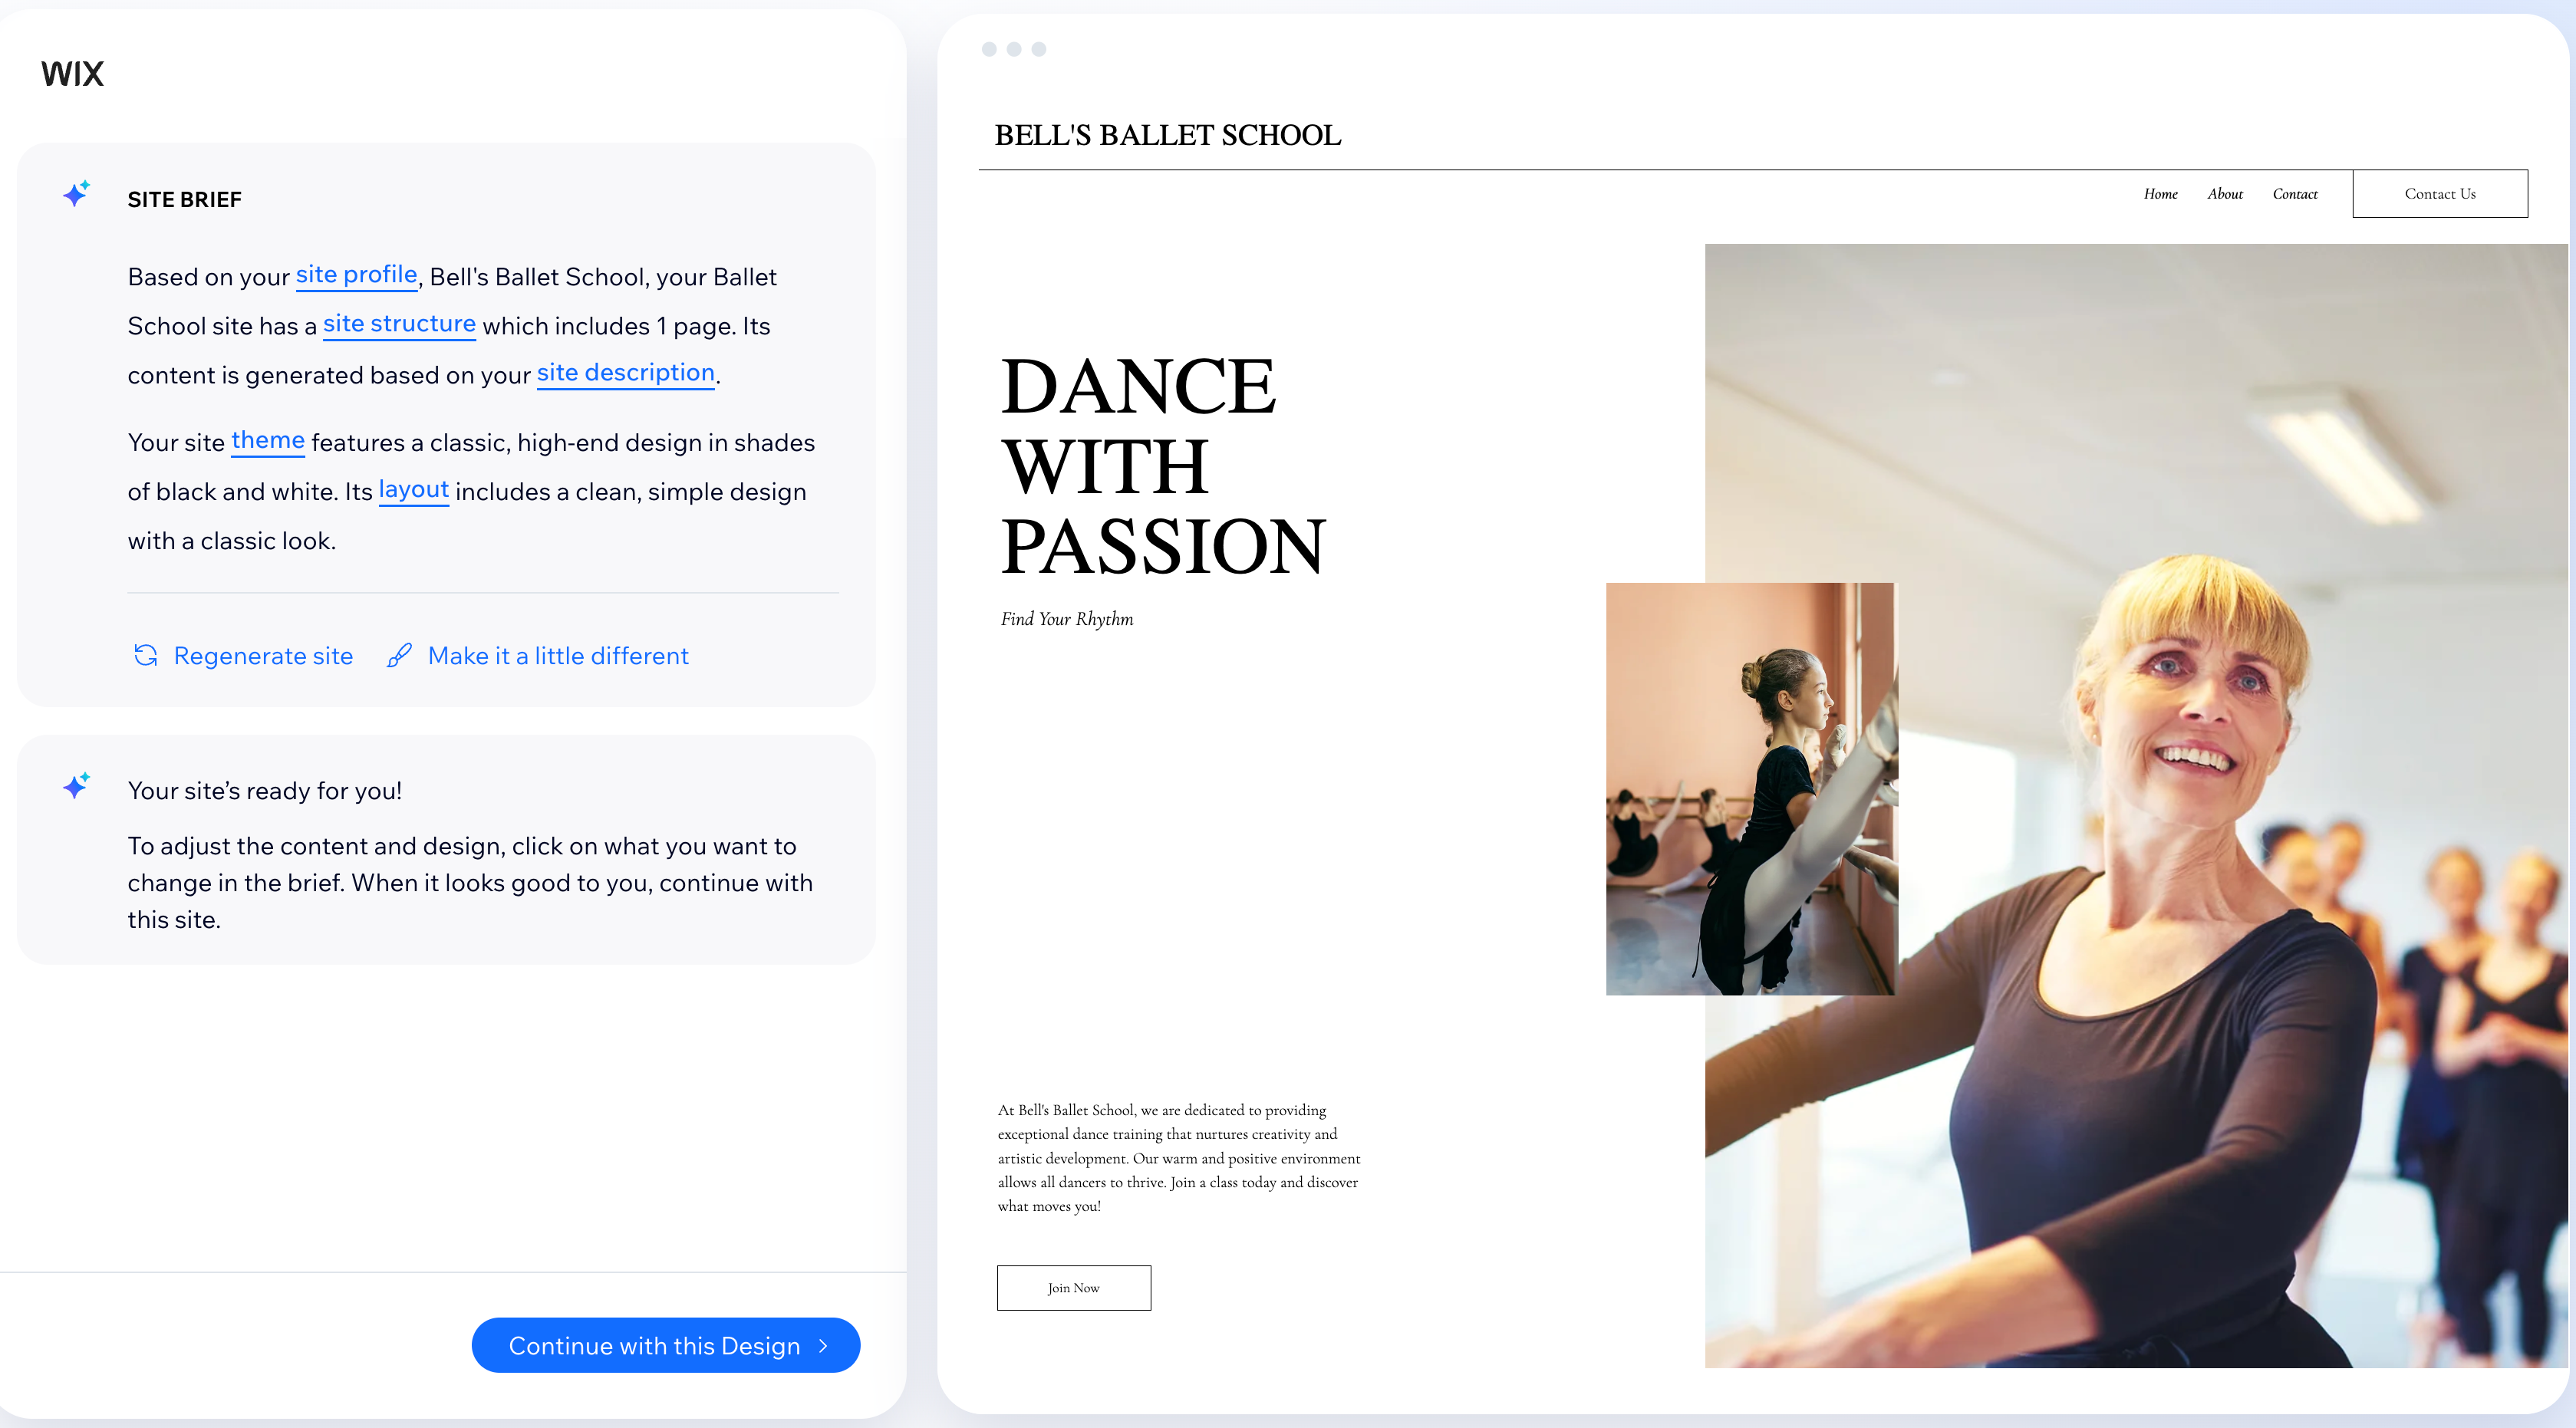
Once you have decided on your business, you need to create your Wix account and set up your business dashboard. You can use our AI tool to help you, or you can do it yourself.
If you choose to use AI, write a little about yourself or business in the chat, and you will get personalized tools and a dashboard completely ready for you.
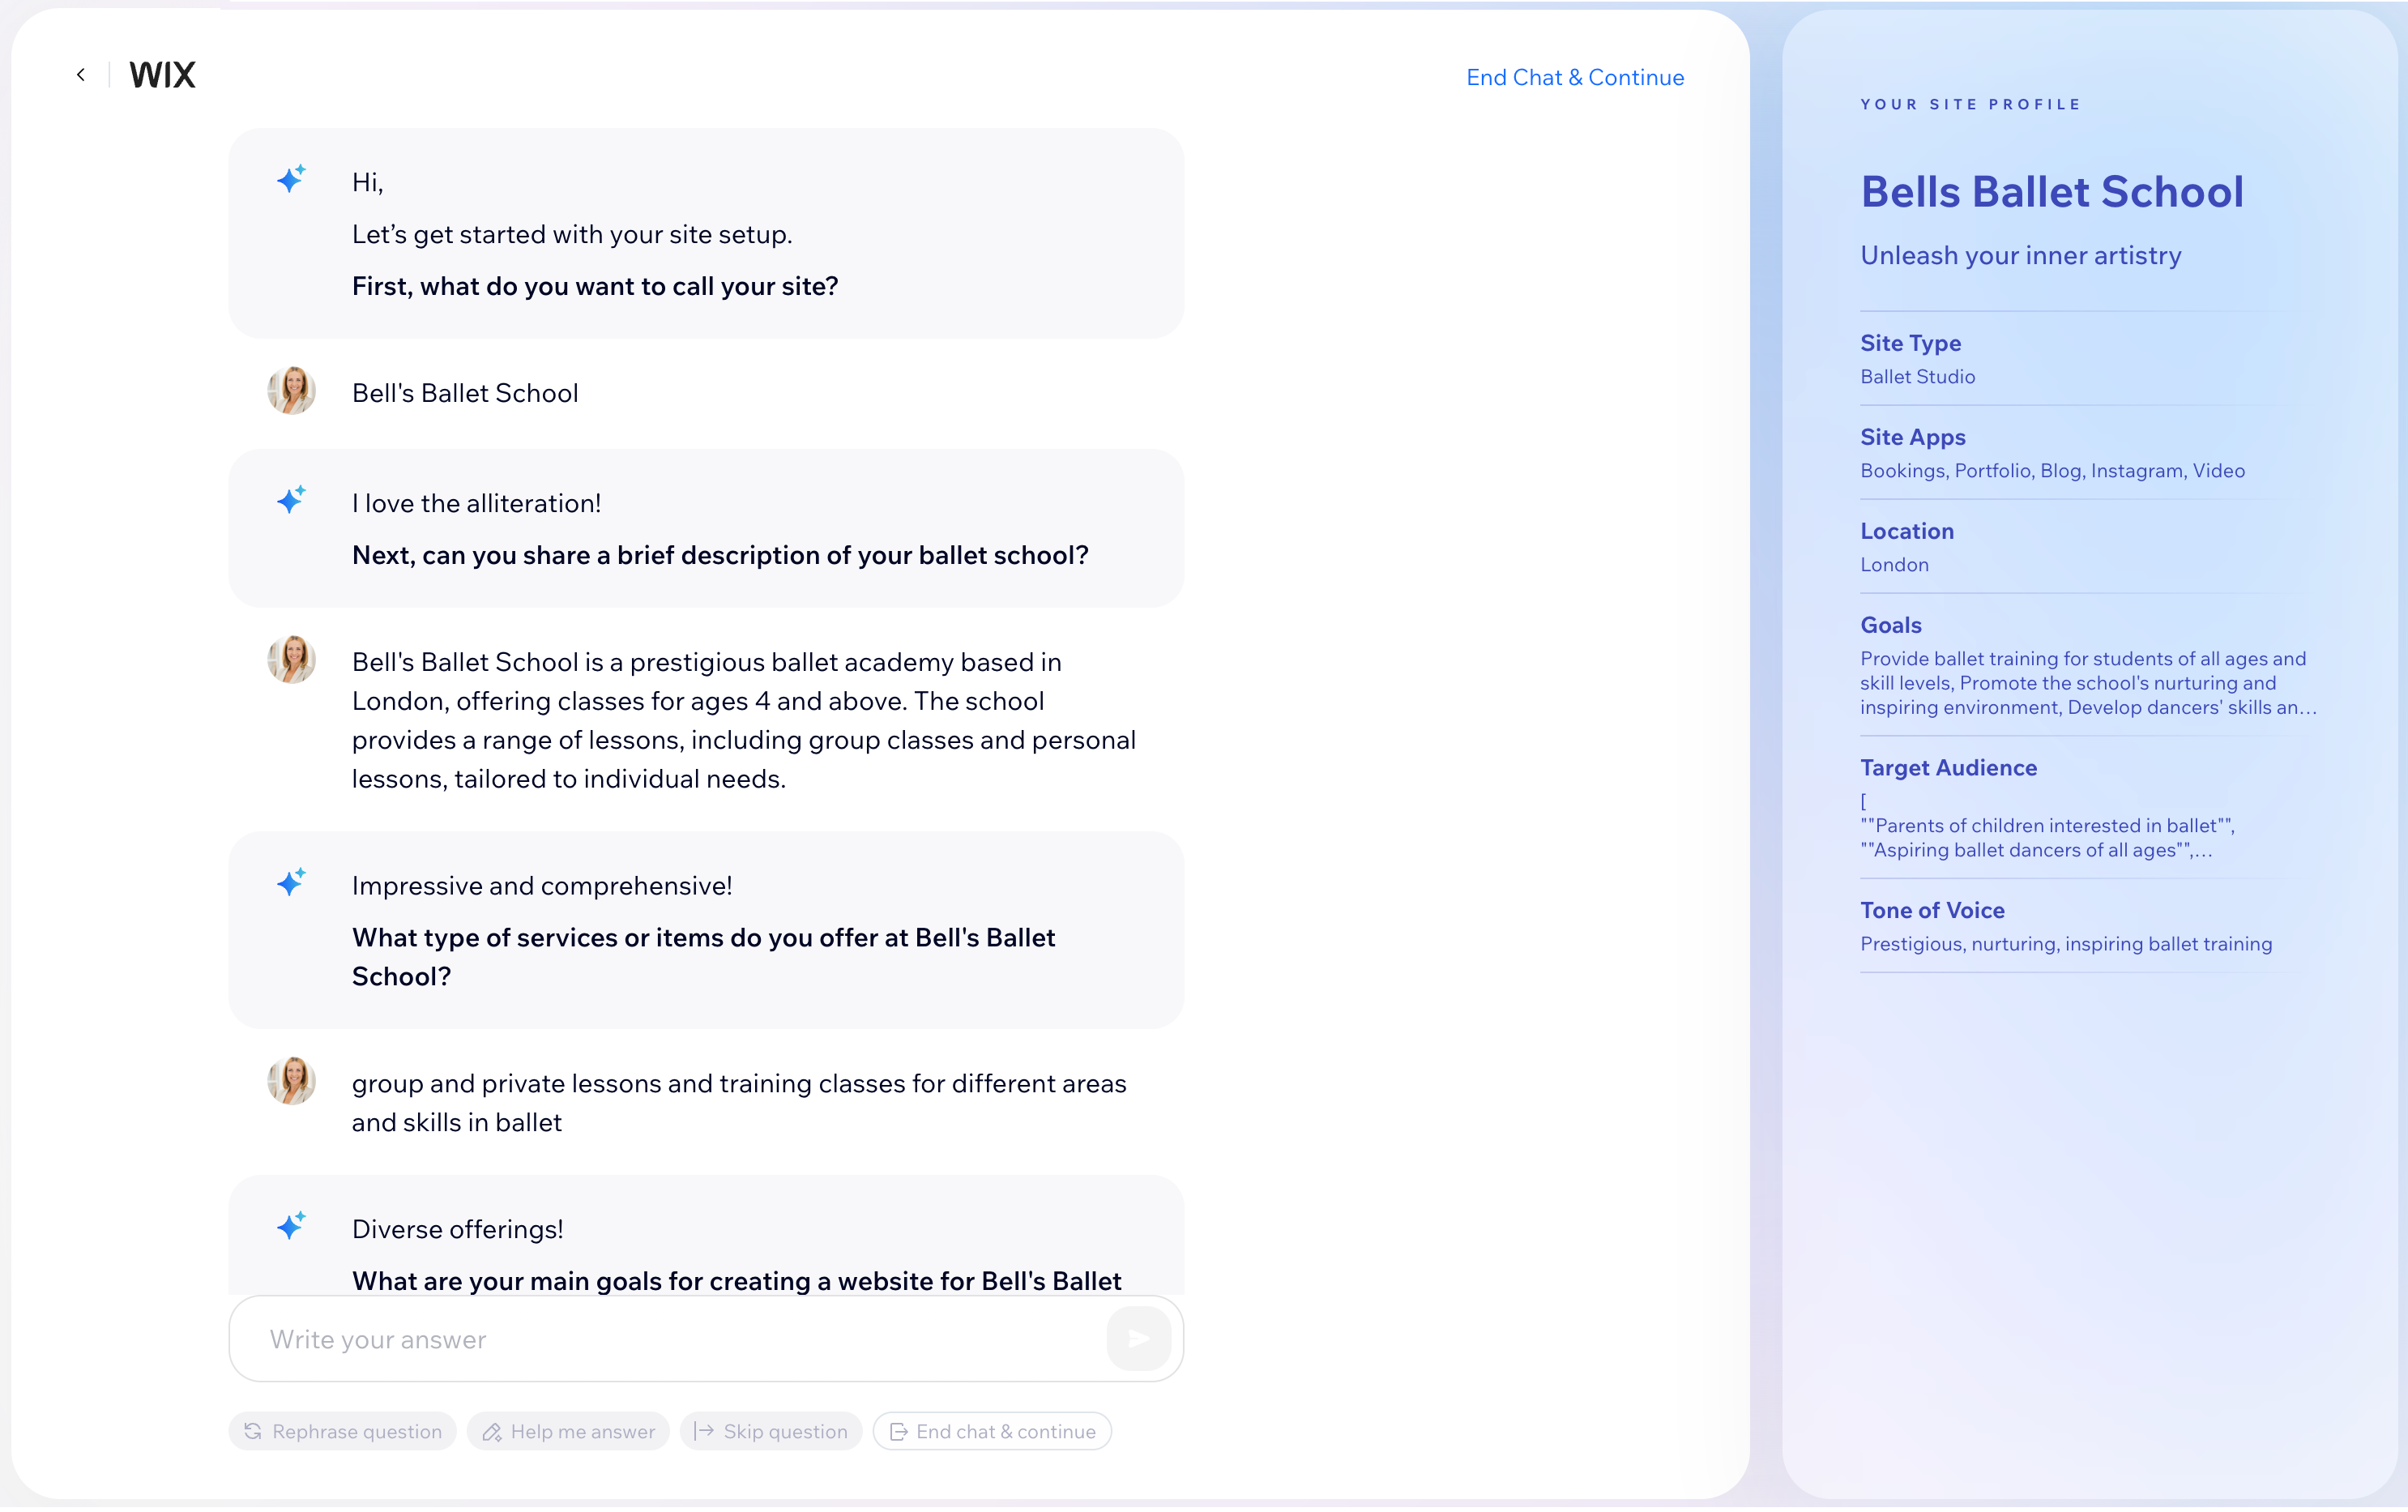
If you choose to set up your business manually, follow the steps and add all your details.
Ready to get started?
- Set up your business dashboard.
- If you're an agency or enterprise building sites for clients, head to Wix Studio.
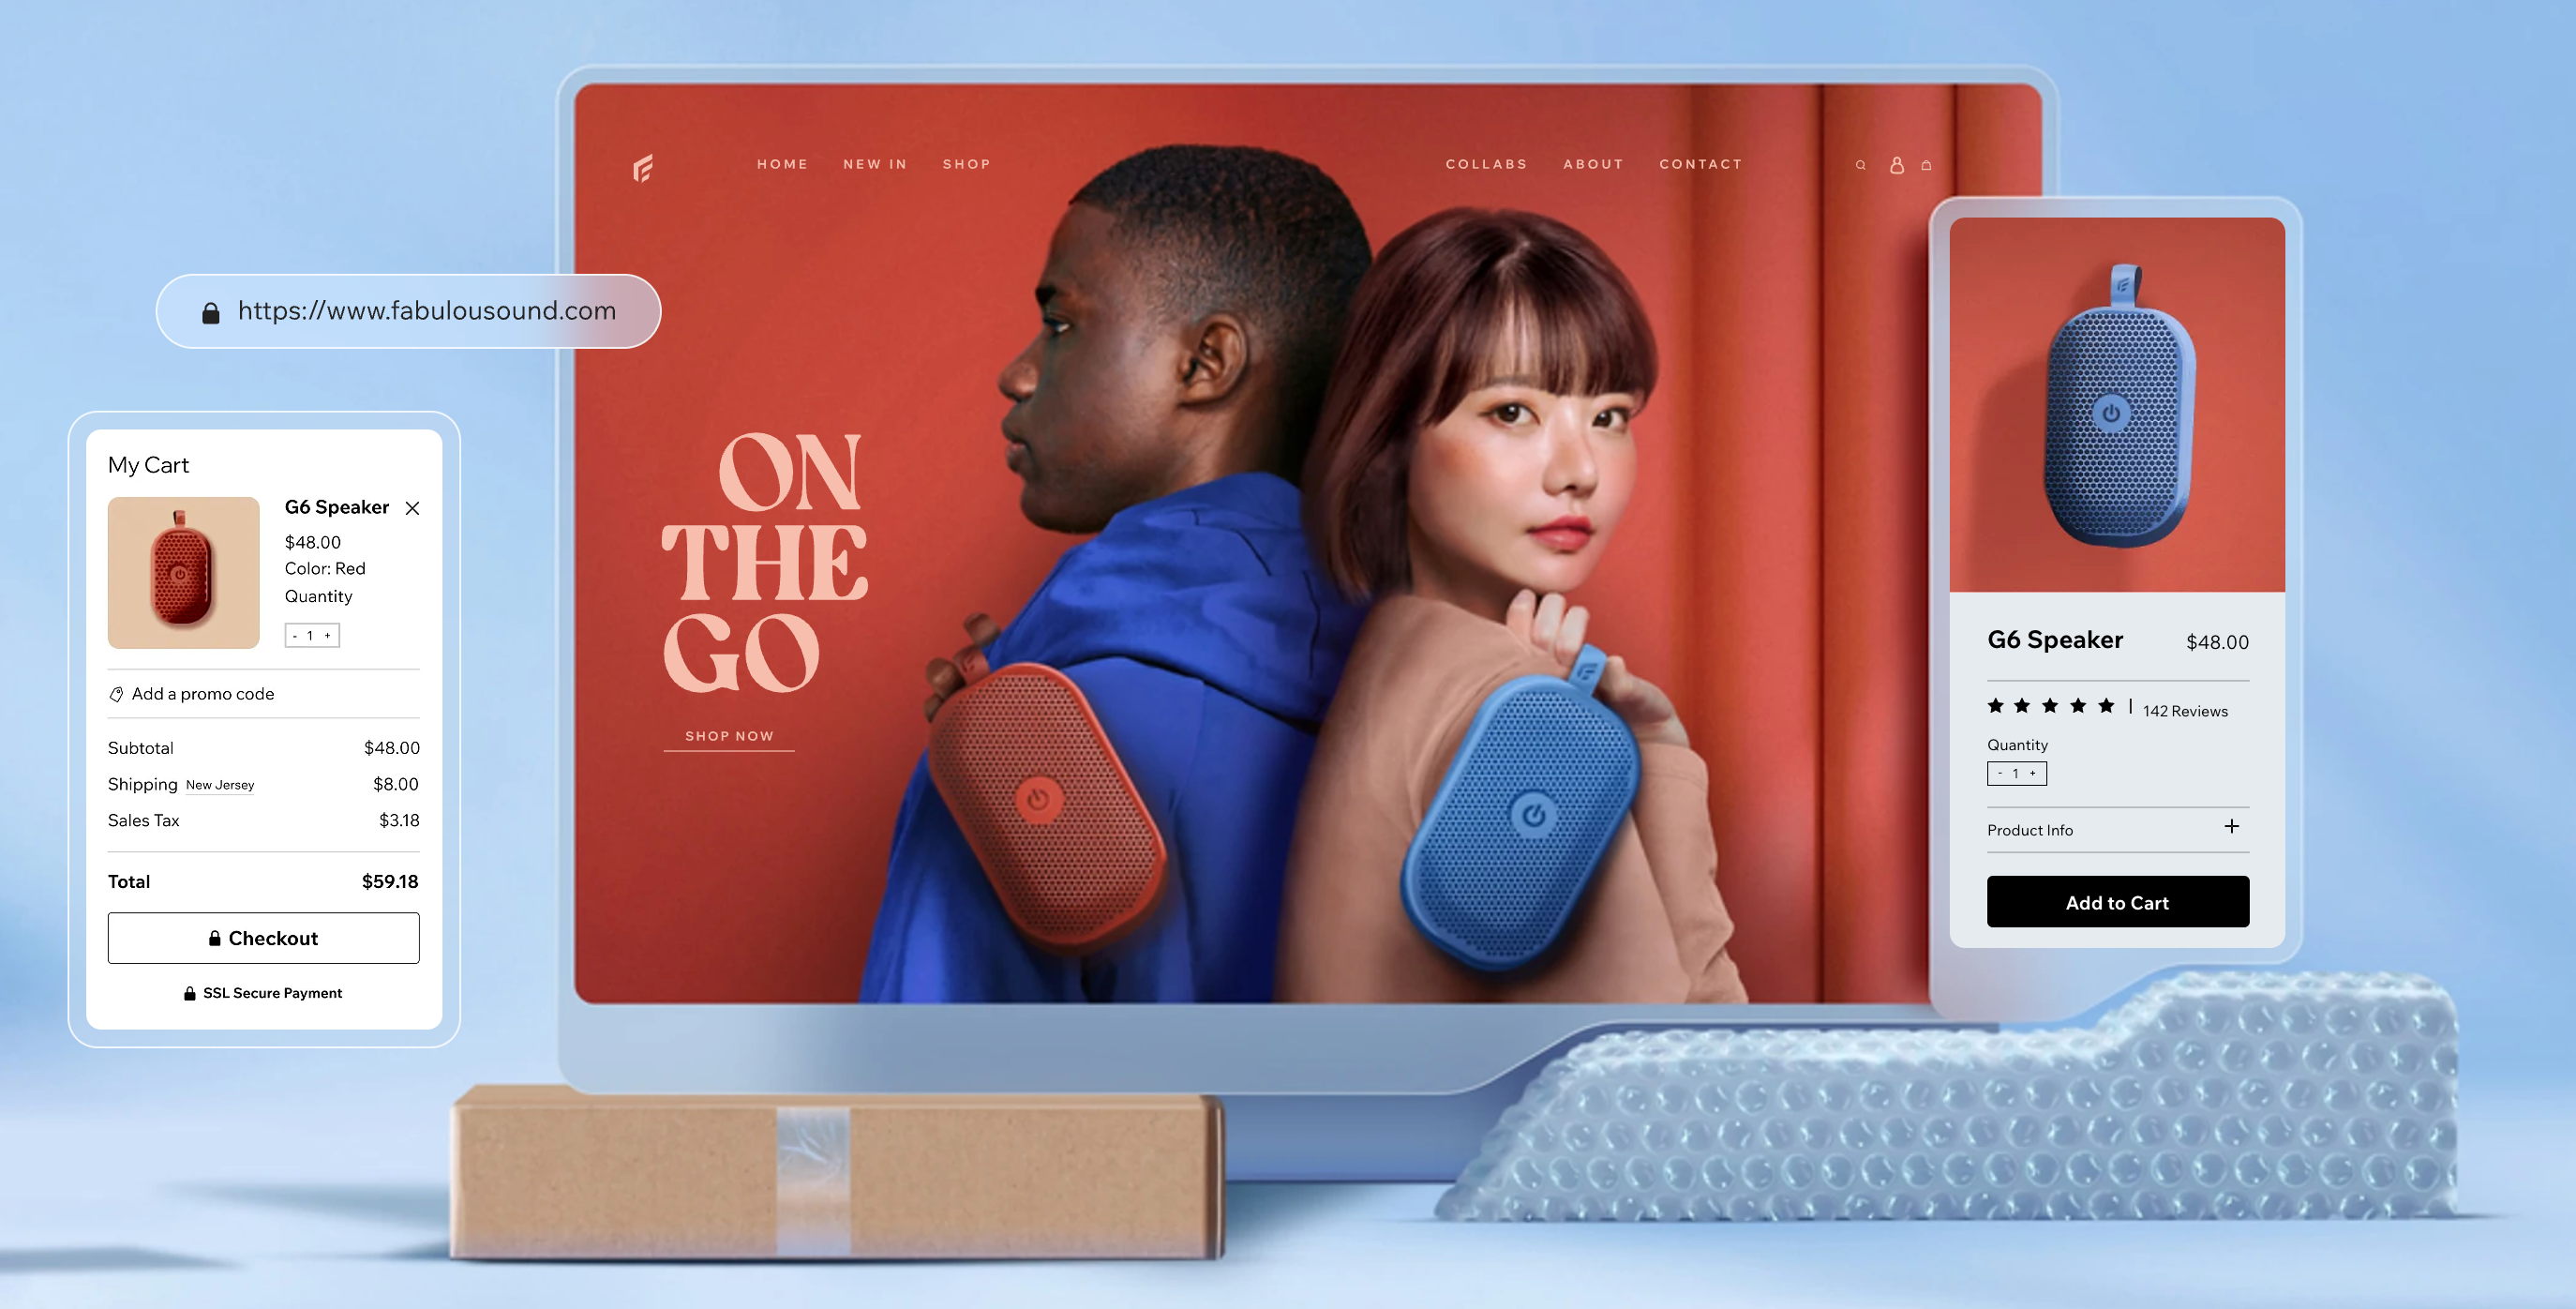
Step 5 | Create your site
When your dashboard is all set up, you can start creating your site. Just click Design Site to get started.

To get started designing your site, you can either use our AI tool, or you can customize one of our professionally designed templates.
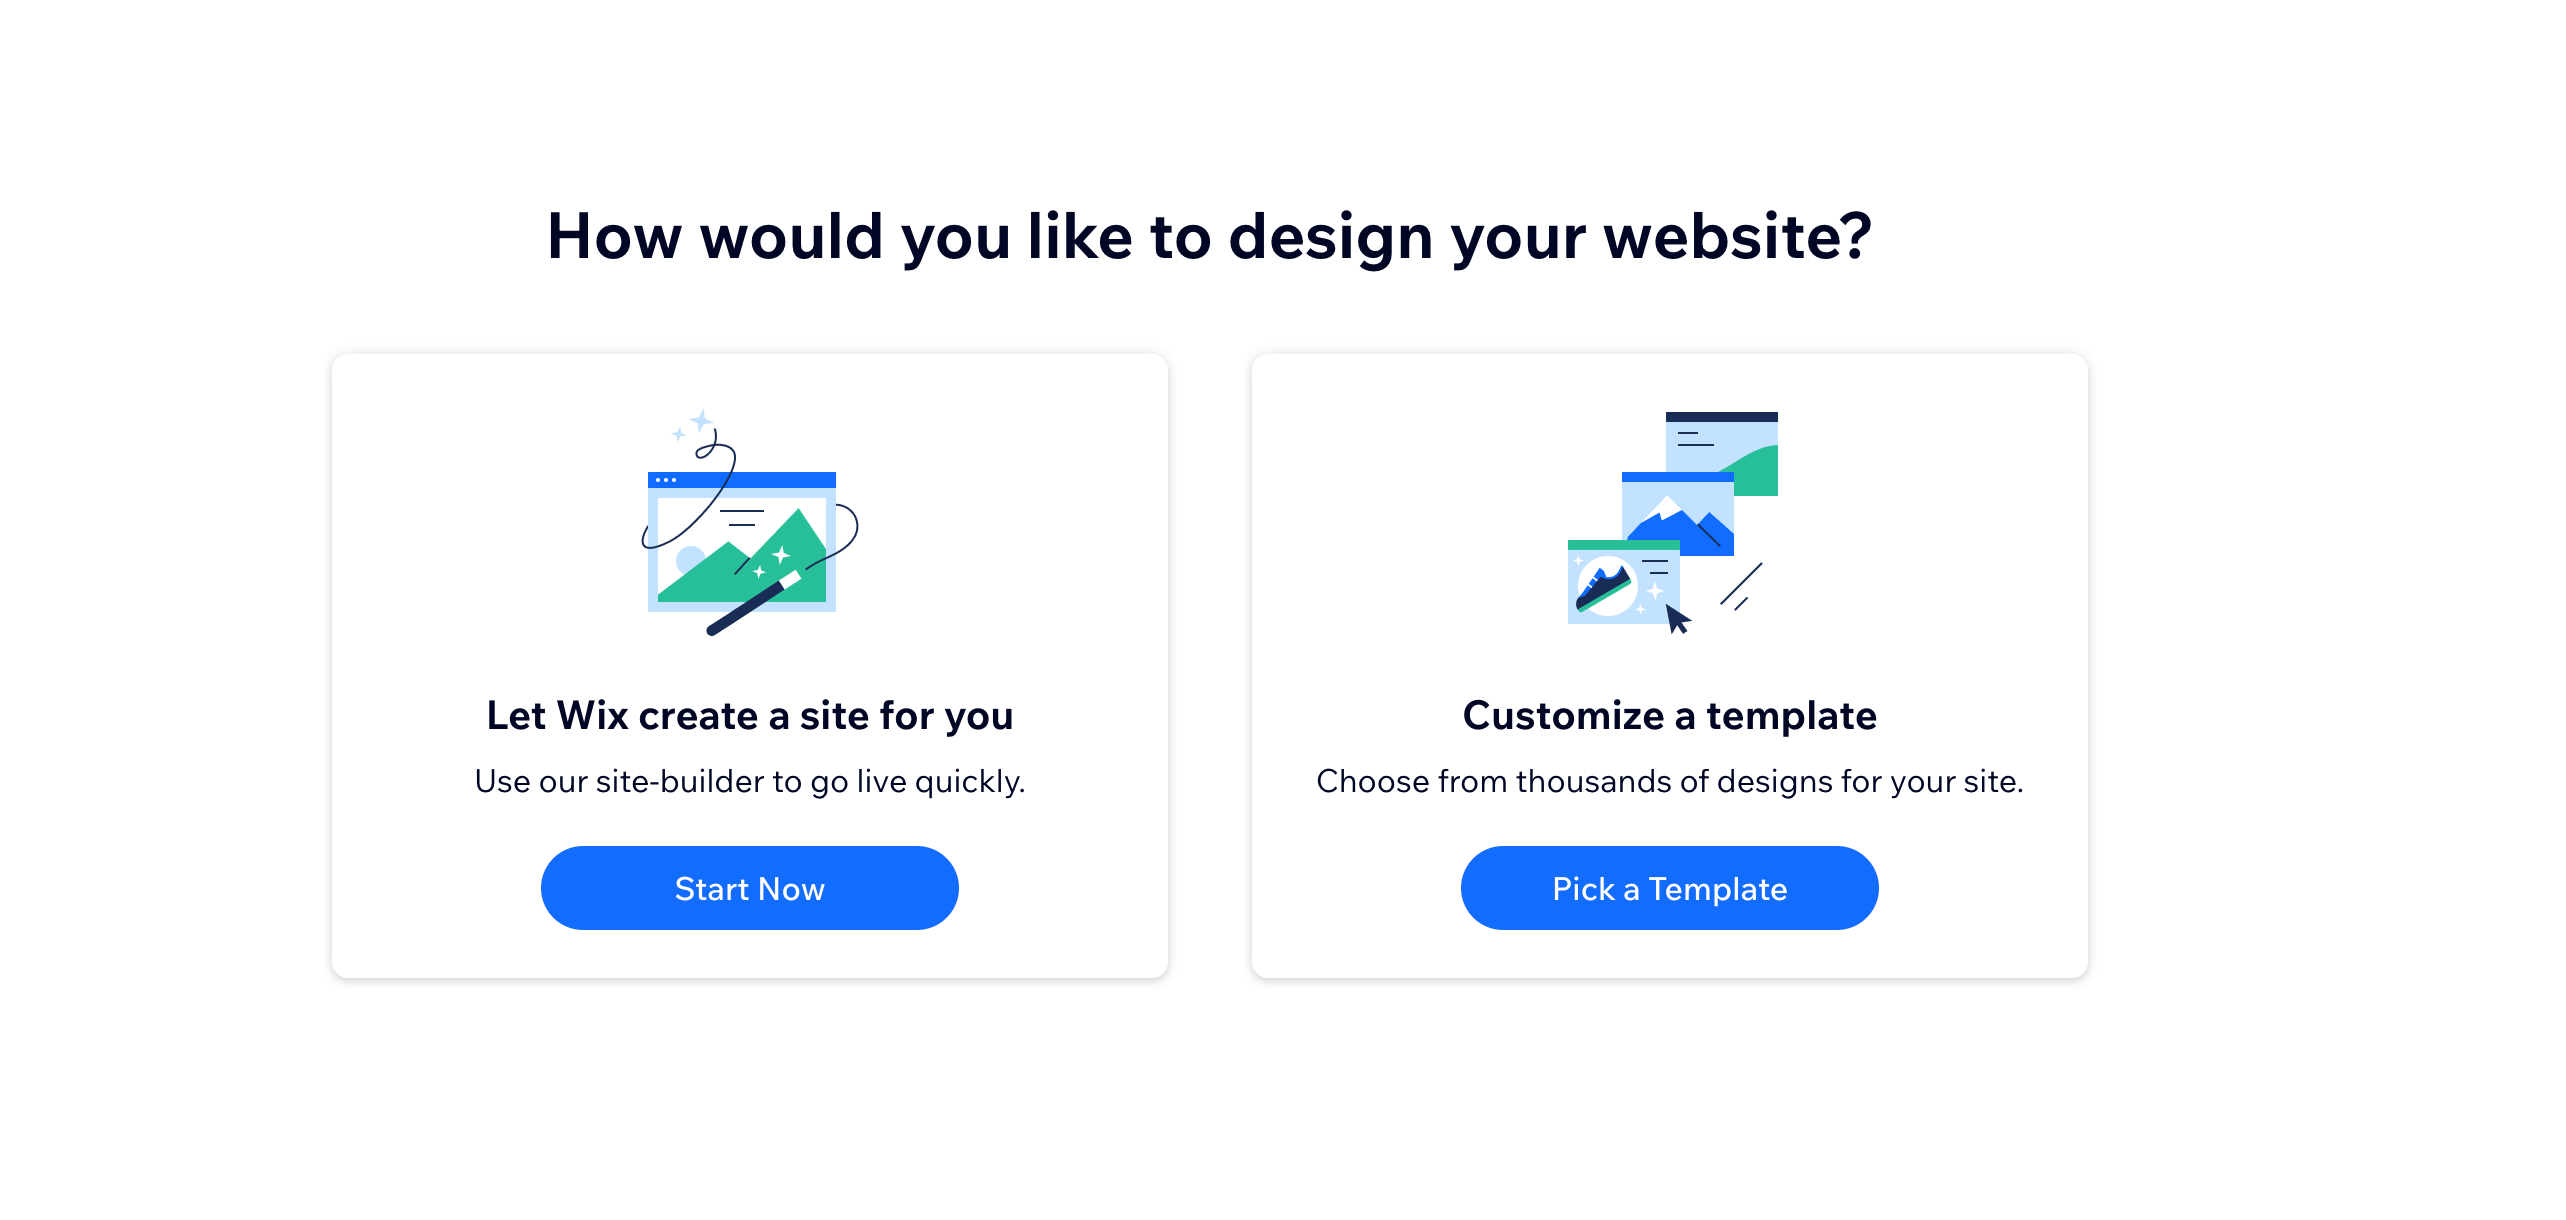
With both options, you can customize every part of your site according to your needs using the Wix Editor. With an intuitive drag-and-drop interface, building and customizing your site is a breeze, and the best part is, you don't need to write a single line of code!
Using AI
If you choose AI, you can customize the prompt or regenerate the design as much as you want until your site looks just as you imagined. Don't worry, you can still customize every part of your site later in the Wix Editor.
Go straight to our AI site generator.
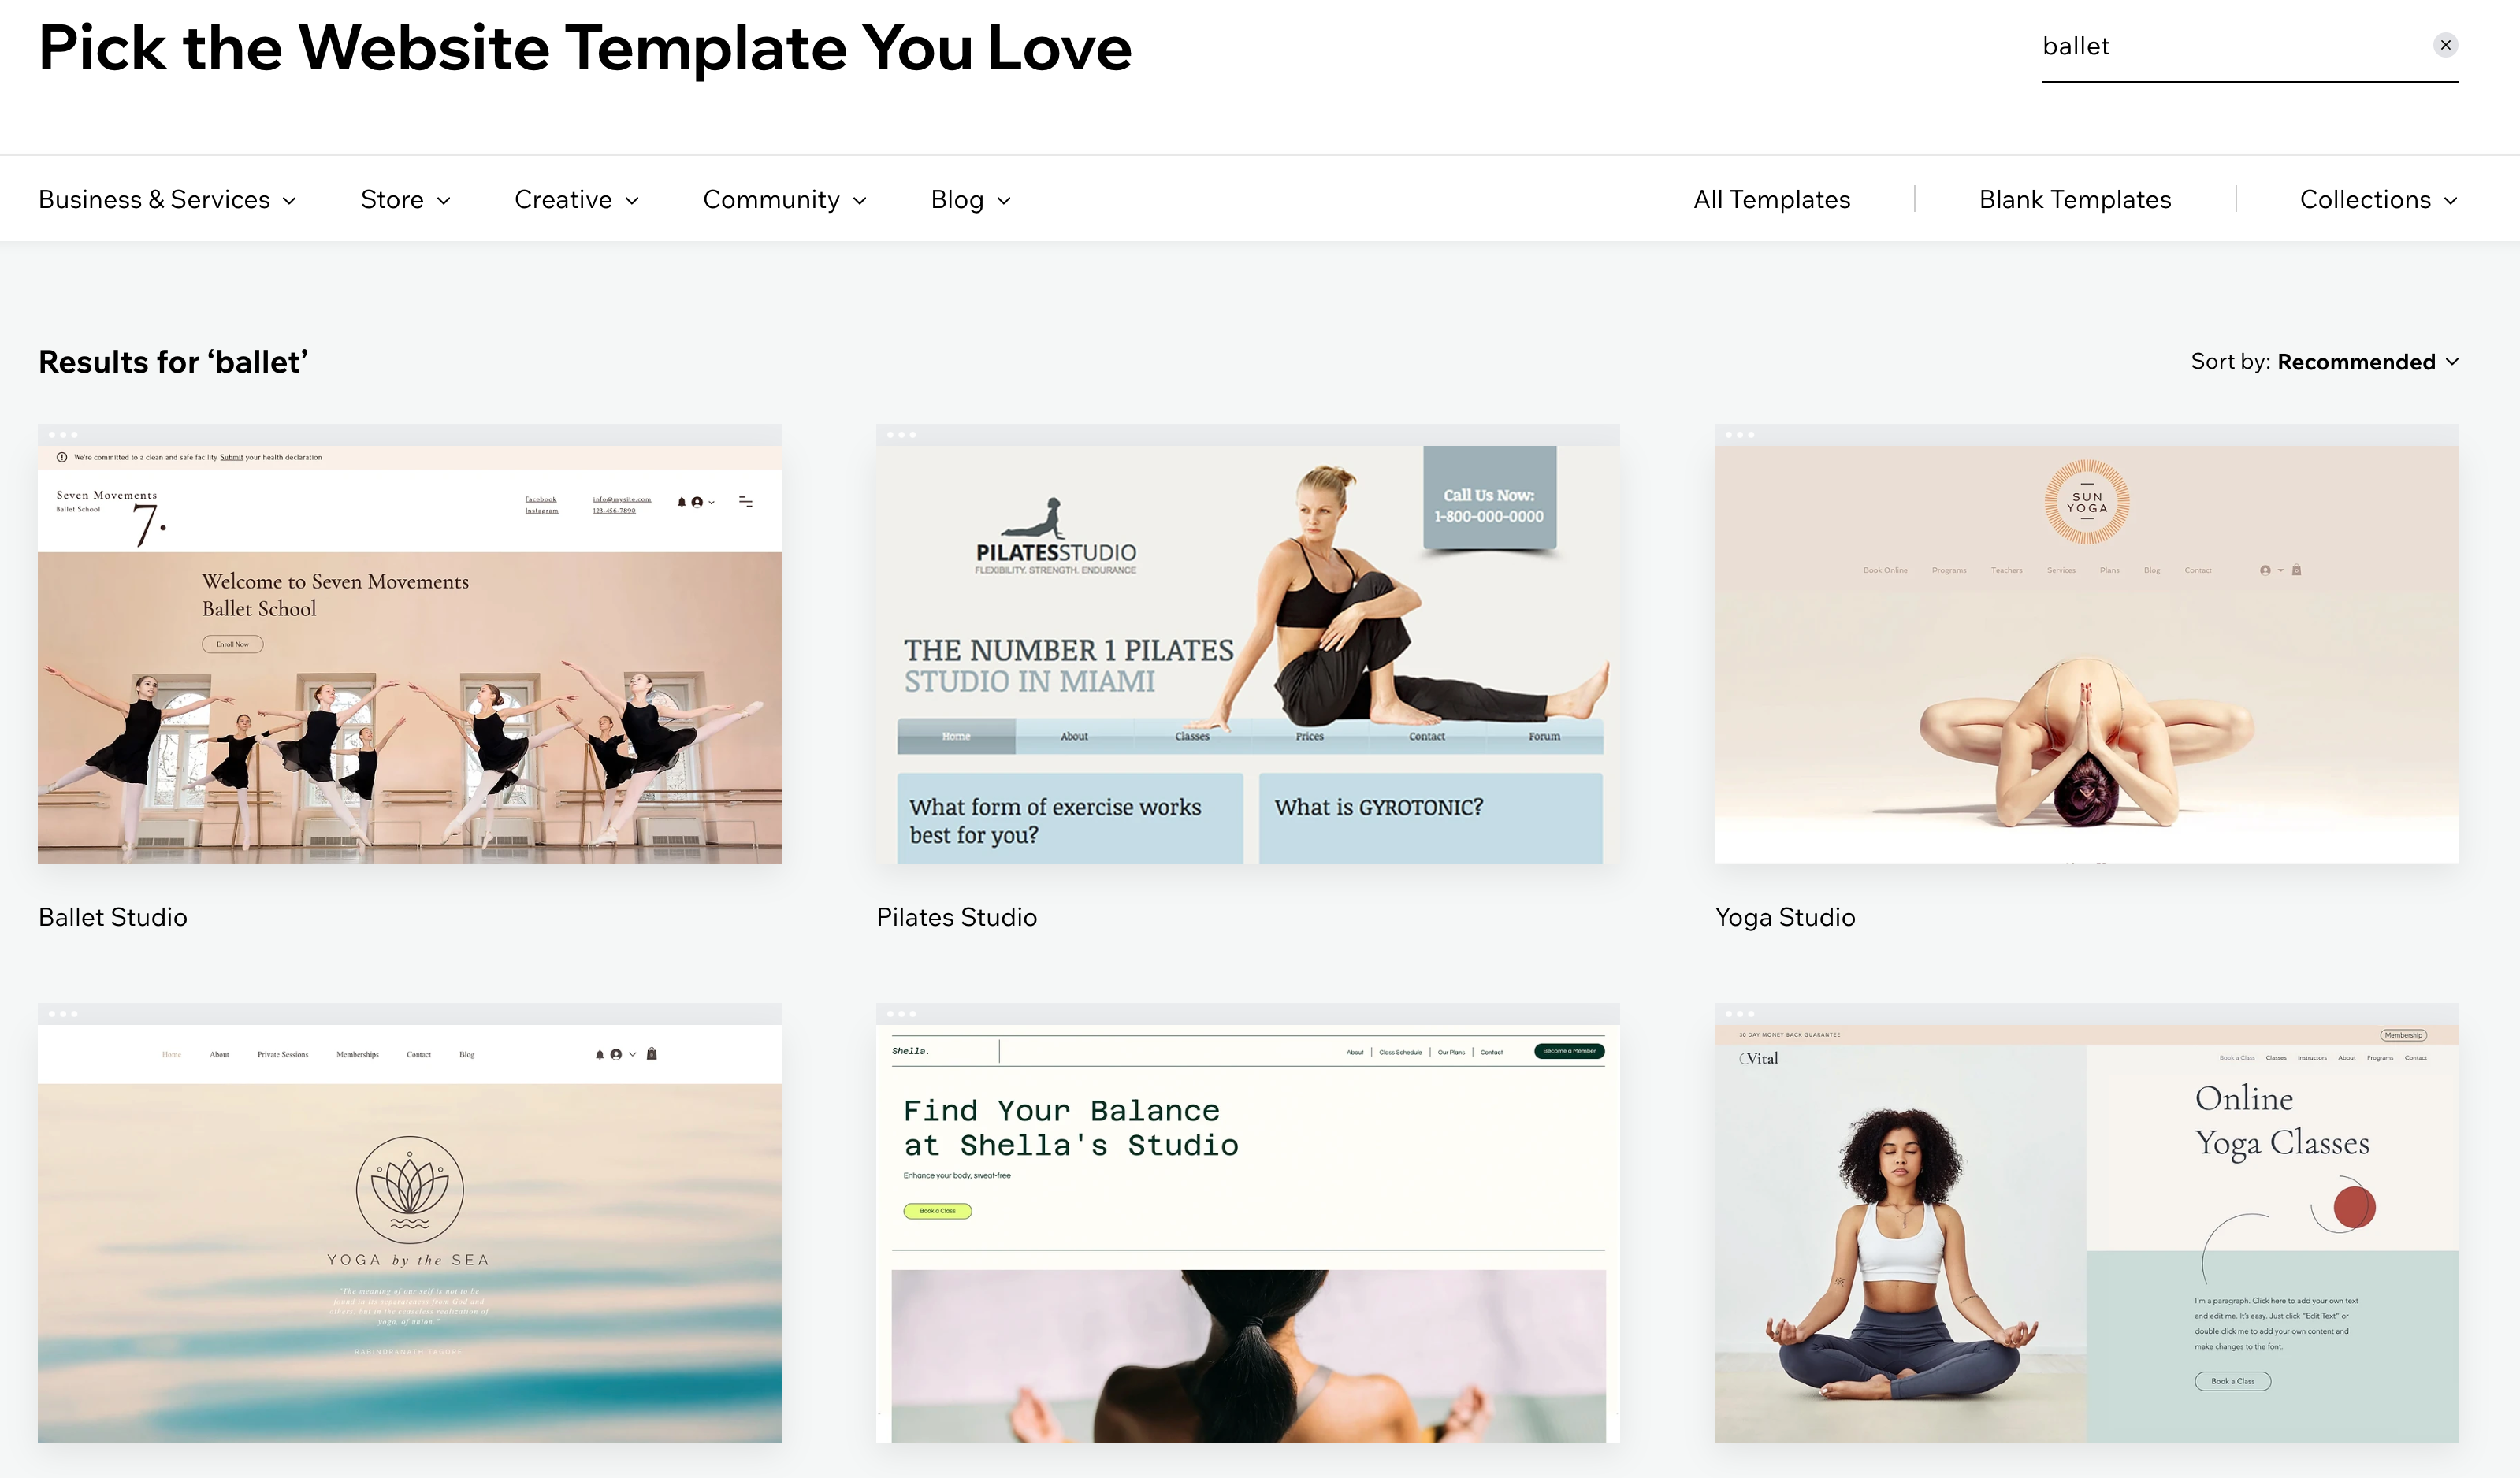
Using a site template
Wix offers 800+ website templates that have been carefully researched and curated by our own designers, to make sure they best fit current trends and industry needs.
Make sure to choose a template that reflects your style preferences. Do you prefer a sparse, minimalist look? Going for a full-of-life, colorful design? We recommend selecting a template that already has the color palette and vibe you're aiming for, rather than one with the apps you need. You can add apps to any template in seconds.
Check out our guide to outstanding web design.
Step 6 | Customize your site in the Wix Editor
Head to the Wix Editor to customize all aspects of your site and really make it your own. You can change every part including the text, media, layout etc.
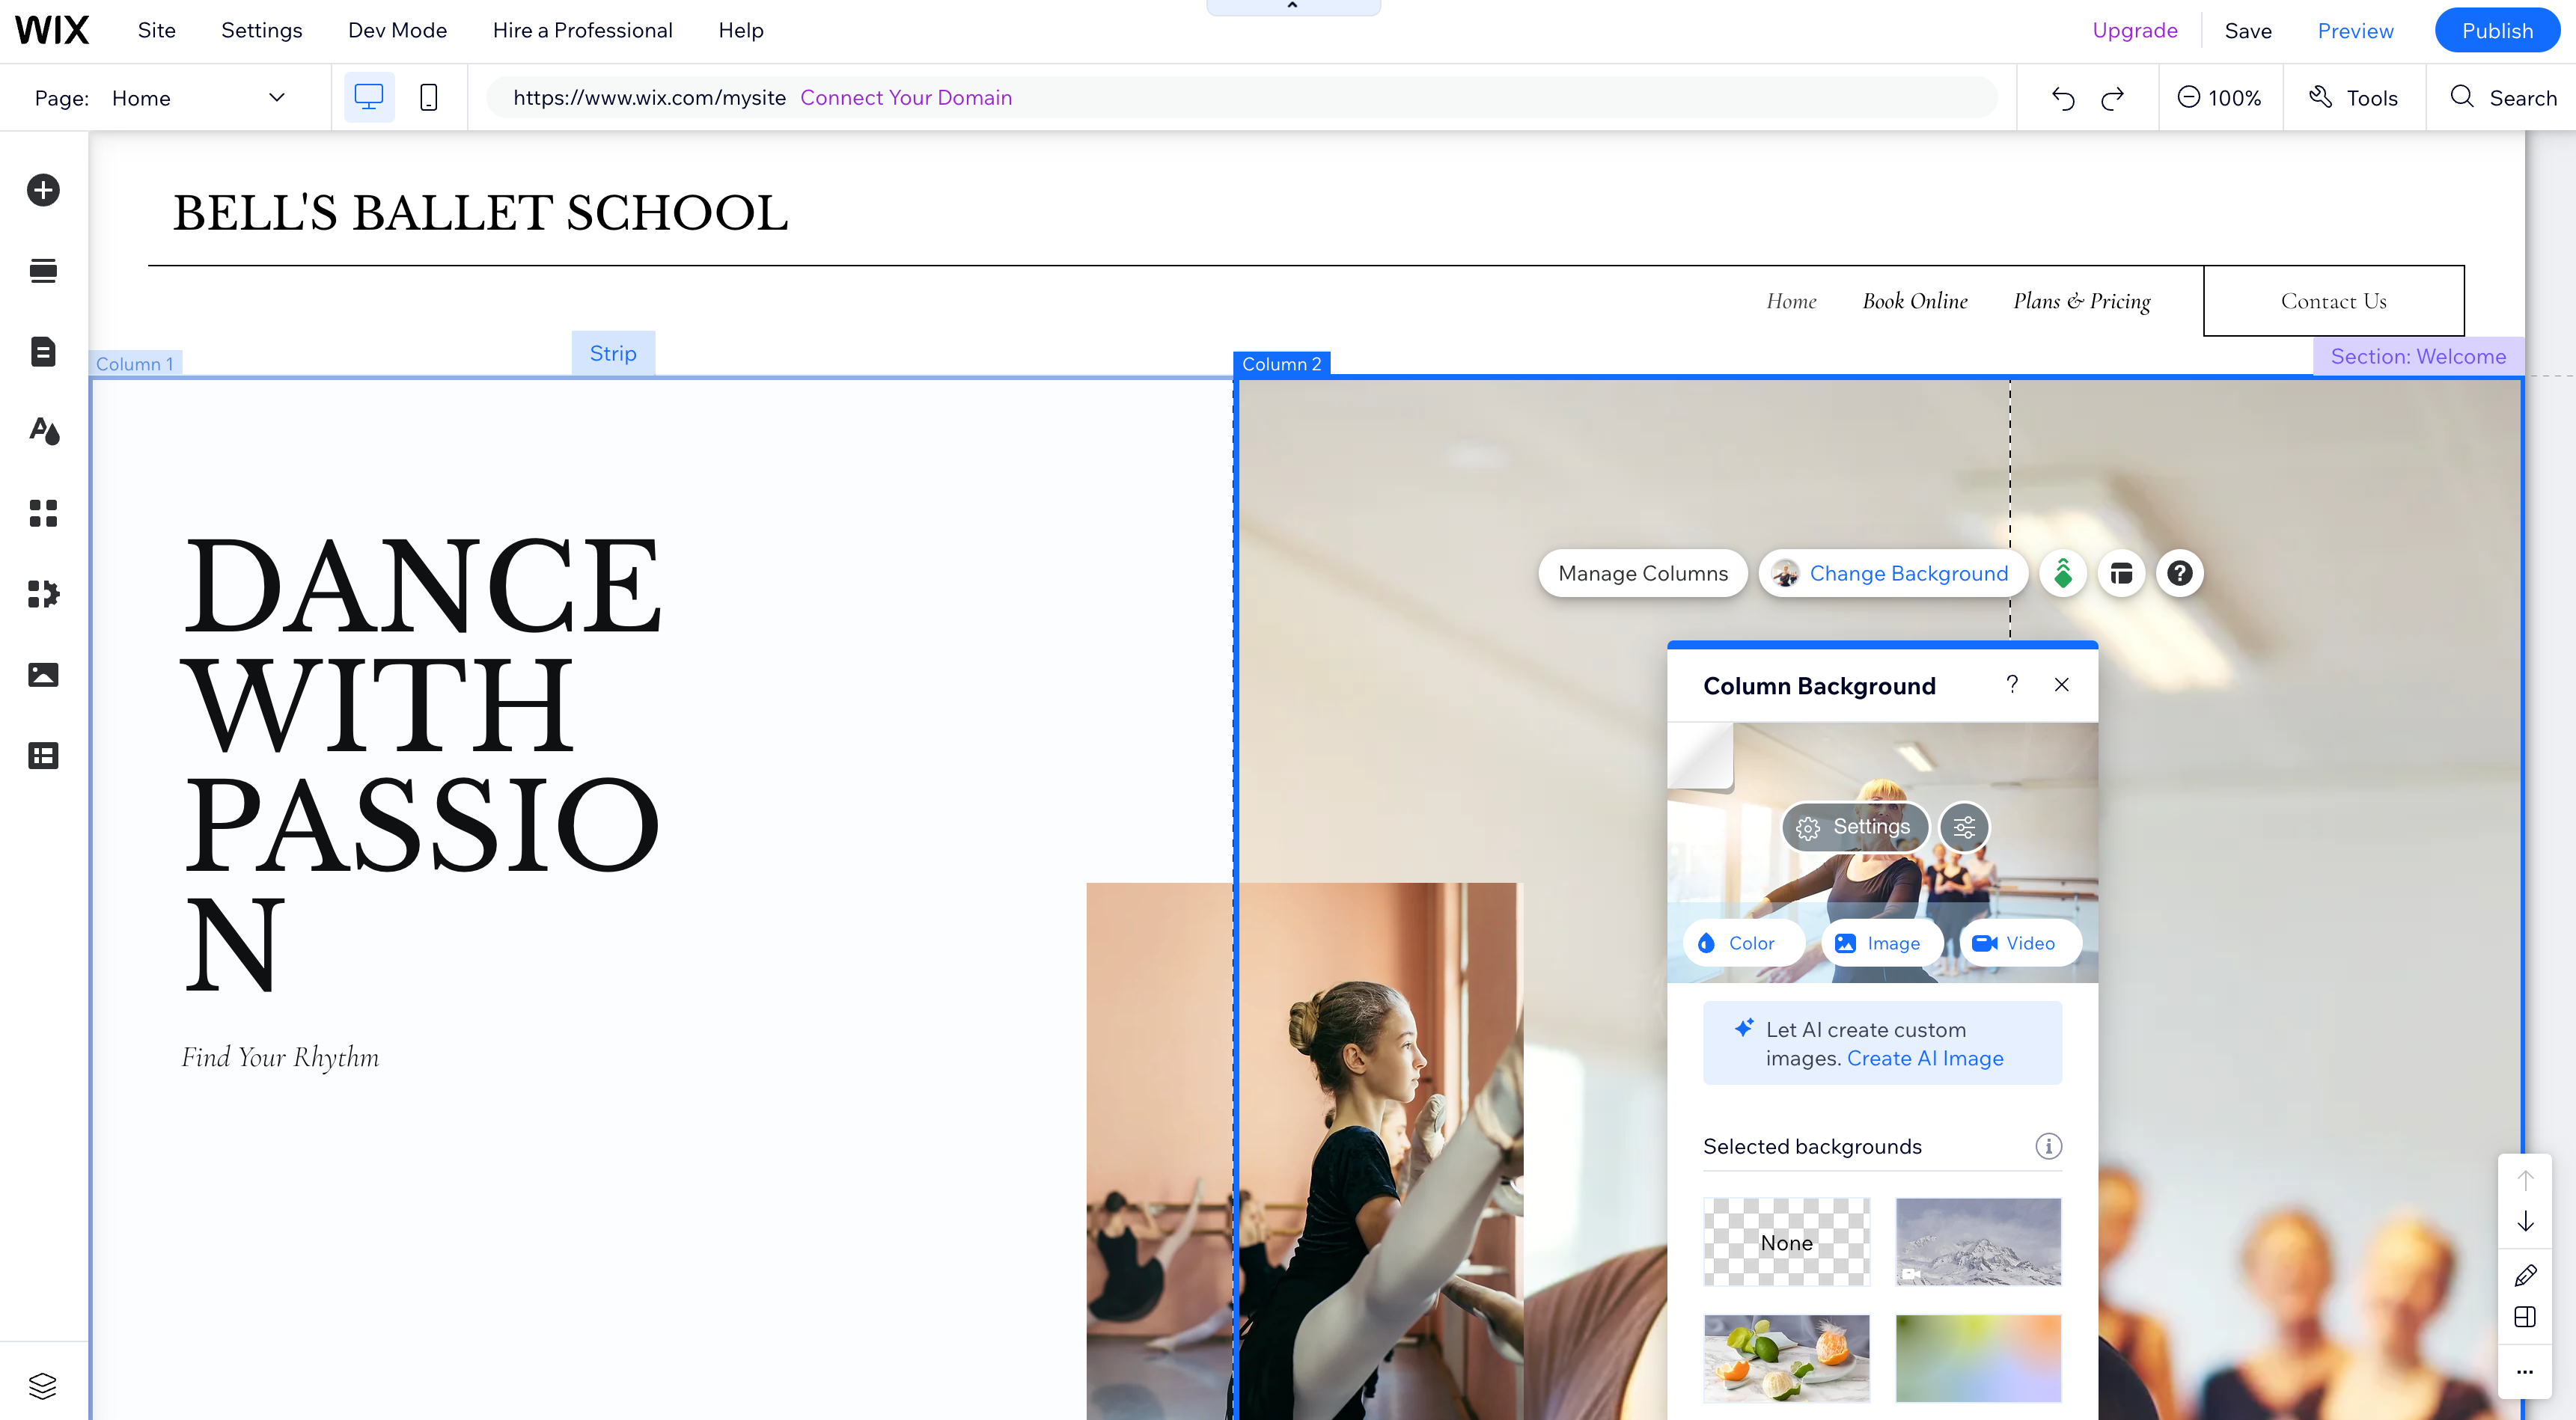
Here are some ideas to get you started customizing your site:
Add and edit text
Add media or upload your own
Add animations
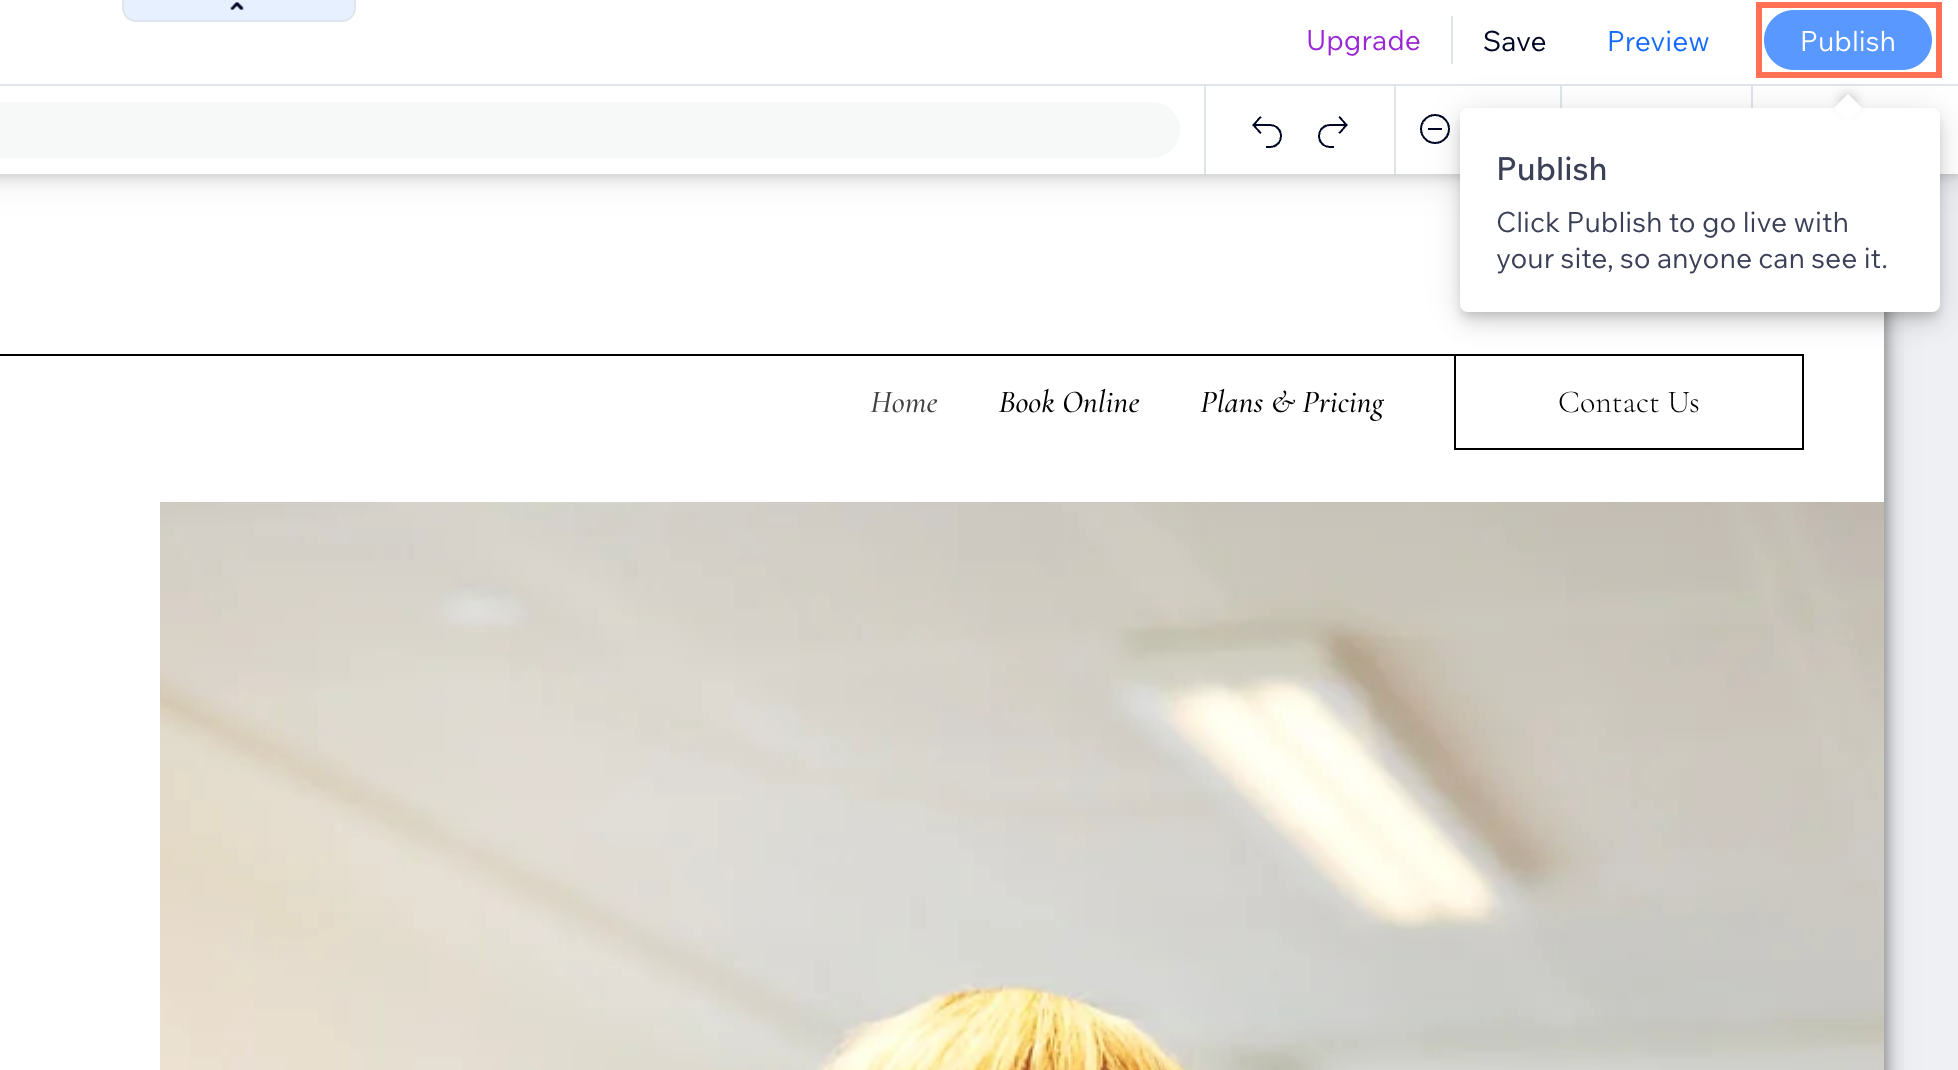
Step 7 | Publish your site
Now for the really exciting part. After taking the time to build your site and adding the essential elements, it’s time to publish. Once you’re happy, go ahead and click that Publish button. Learn more about publishing your site.
Connecting a domain:
Upgrade your site to connect your own domain for a more professional touch. Think about your site name and incorporate that into a domain. Learn more about domains
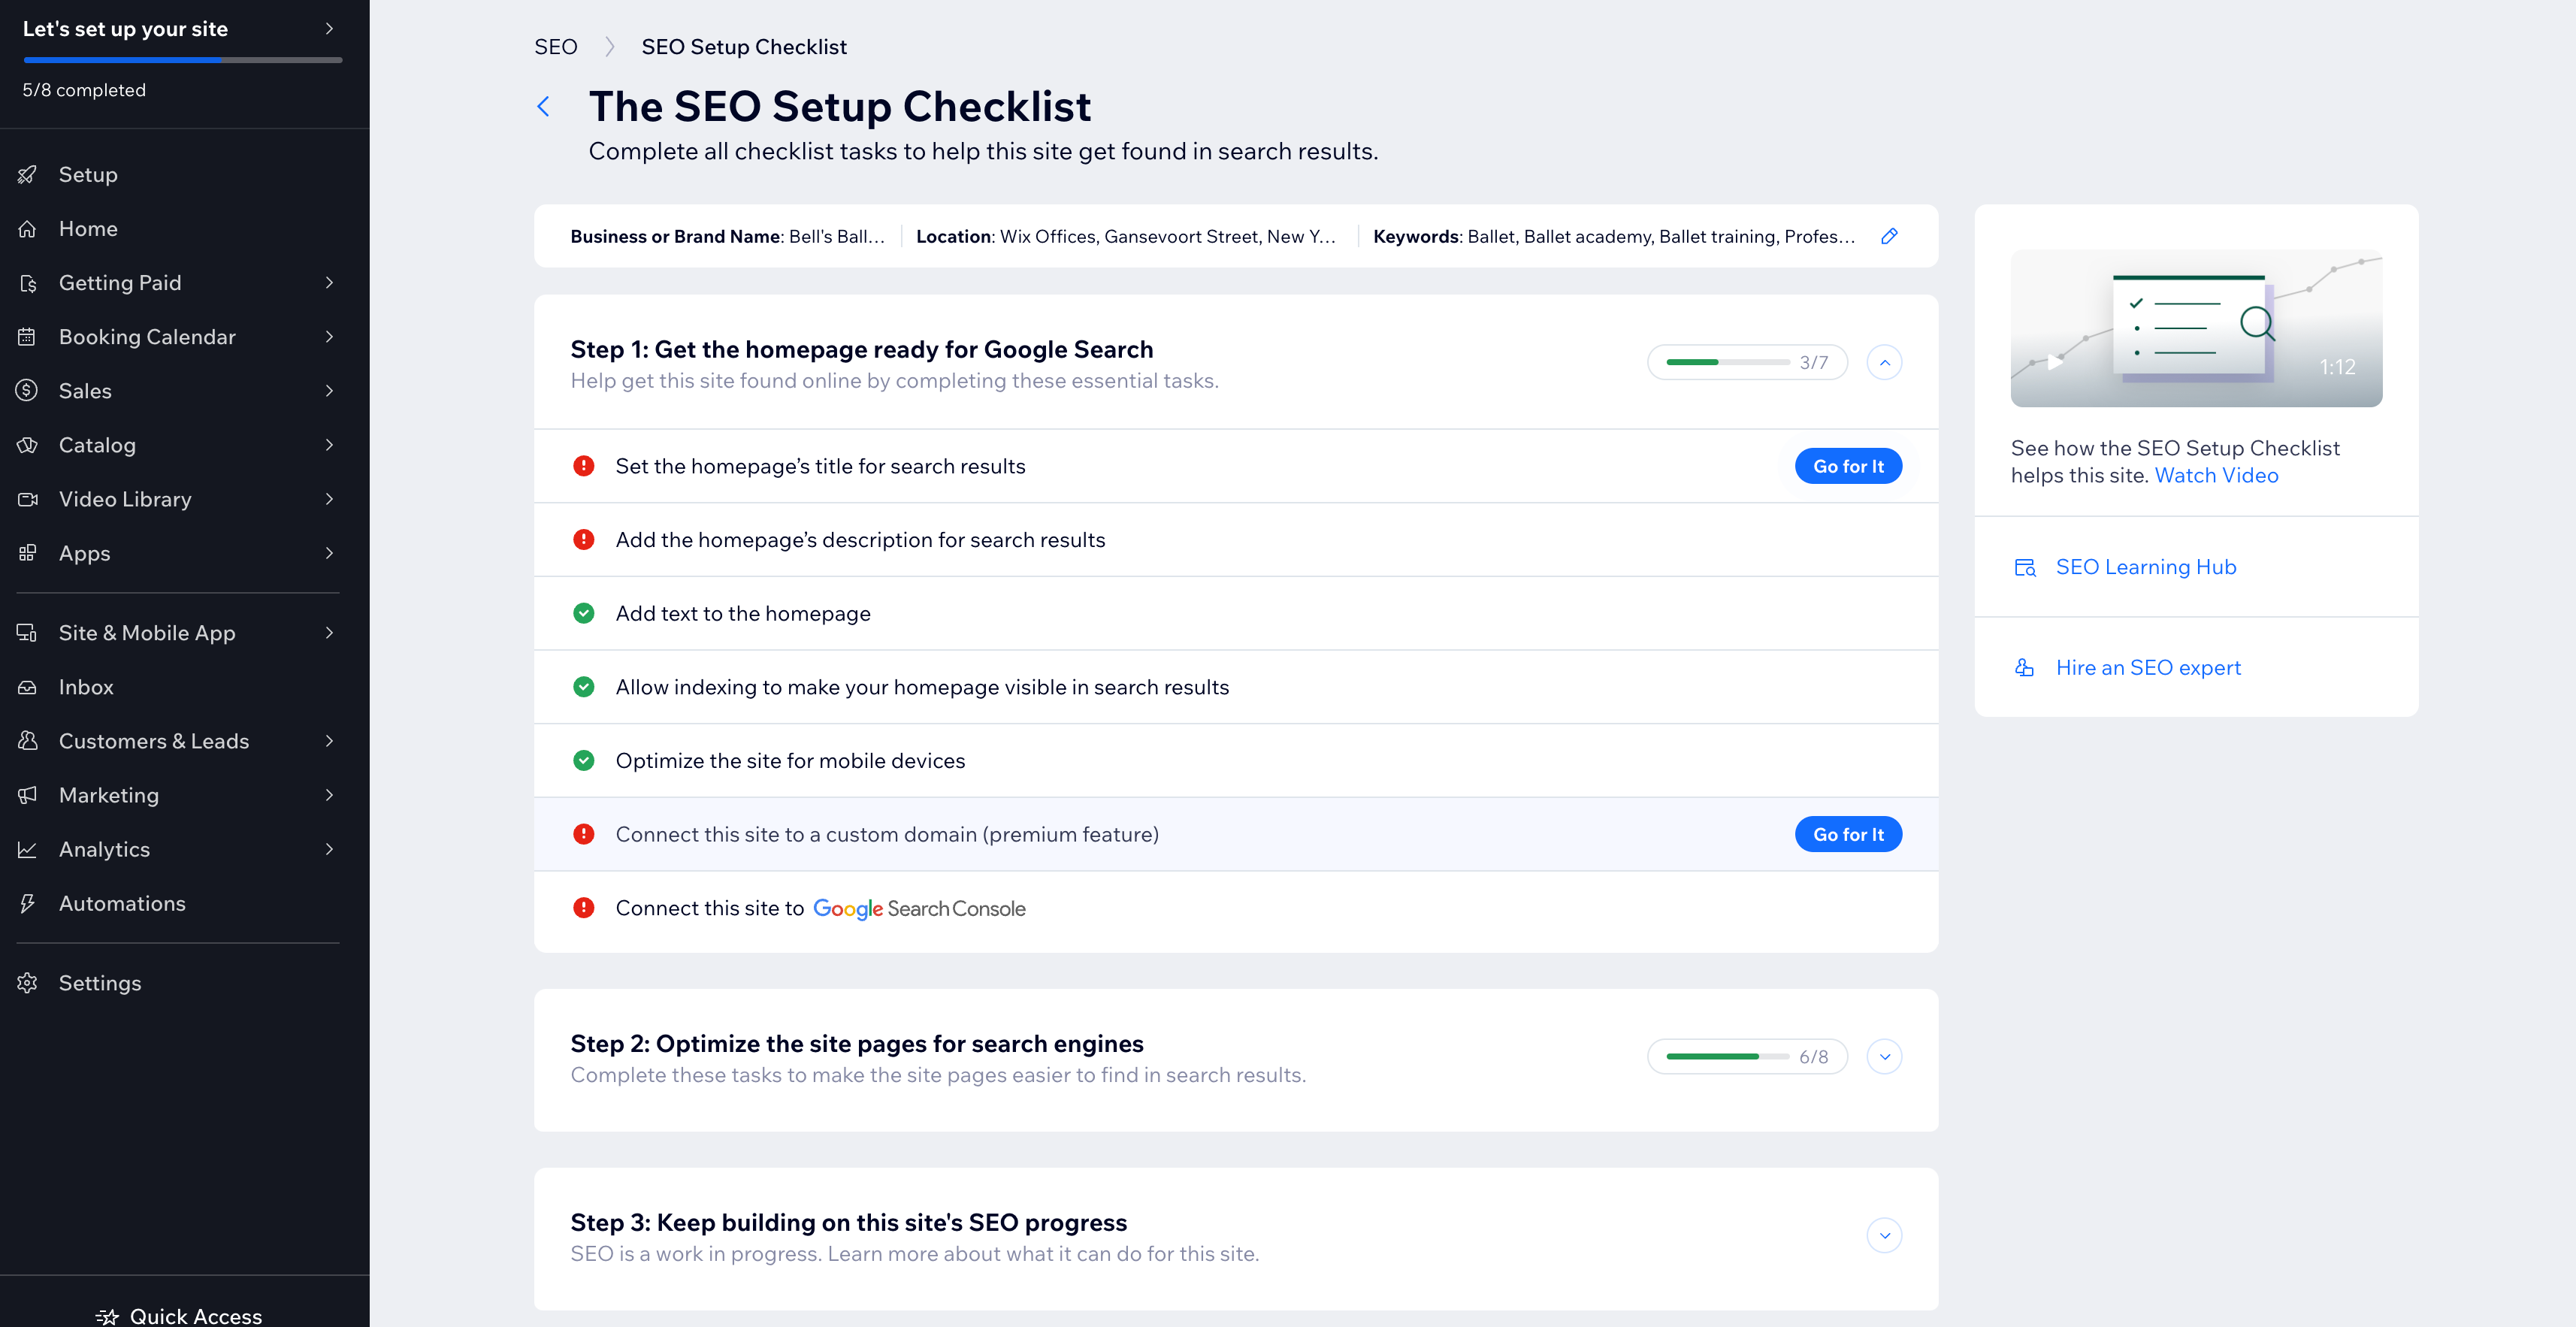
Step 8 | Optimize your site's SEO
After you publish your site, it's time to get it appearing on search engines such as Google. Being visible in search results for relevant searches can help you build brand awareness and generate revenue.
Each Wix website comes with an SEO Setup Checklist to give you a step-by-step guide to getting your homepage ready for Google Search. Your checklist also gives you suggestions for improving your site's search engine optimization (SEO) so that your site ranks higher.
Ready to get seen online?
Did this help?
|