Wix Editor: Adding and Managing Gallery Images
3 min read
Manage the images in your gallery to display eye-catching photos the way you want. You can add new images, change the order they're displayed in, and replace existing images as you go. You can also add titles to give your visitors extra information.
In this article, learn how to:
Adding and setting up images in a gallery
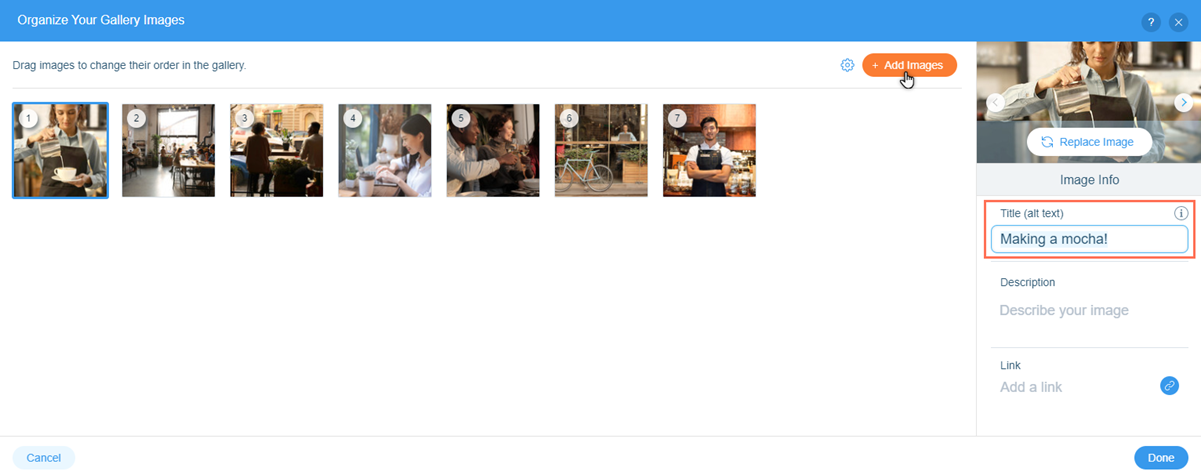
Choose which images you want to display in your gallery. You can use a variety of free and priced stock images, or upload your own. After choosing an image, change the title to ensure that it matches the content and can be "read" by search engines and screen readers.
To add and set up a gallery image:
- Click the gallery in your Editor.
- Click Change Images.
- Click Add Images.
- Choose which images to add to the gallery:
- Stock images: Click Media from Wix, Shutterstock, or Unsplash to browse and select stock photos.
- Personal images: Click Site Files to choose your own images to add to the gallery.
- Click the image that you want to add.
- Click Add to Gallery.
- Enter the image title into the field under Title (alt text).
- Click Done.
Note:
If you upload an image to a gallery and don't change the title, the image's original file name is used.
Replacing gallery images
Replace images in your gallery at any time to keep your site's look fresh. This is a quick, useful way to update gallery content, without needing to manually delete and add new images.
To replace an image in a gallery:
- Click the gallery in your Editor.
- Click Change Images.
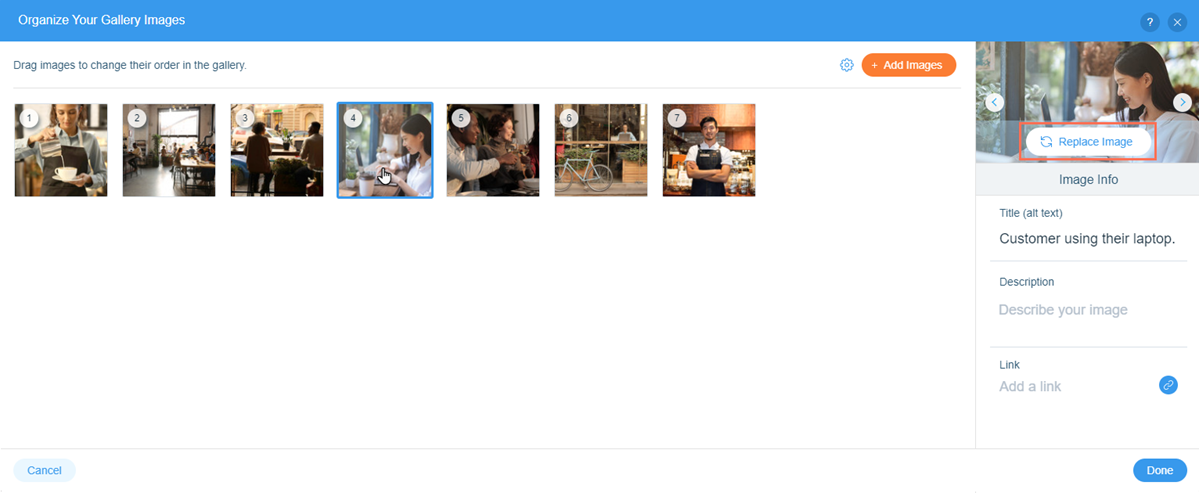
- Select the image you want to change.
- Click Replace Image on the right side of the panel.
- Choose how you want to replace the image:
- Stock images: Click Media from Wix, Shutterstock, or Unsplash to browse and select a stock photo.
- Personal images: Click Site Files to choose an image from your own files.
- Enter the new image title into the field under Title (alt text).
- Click Done.
Changing the order of images in a gallery
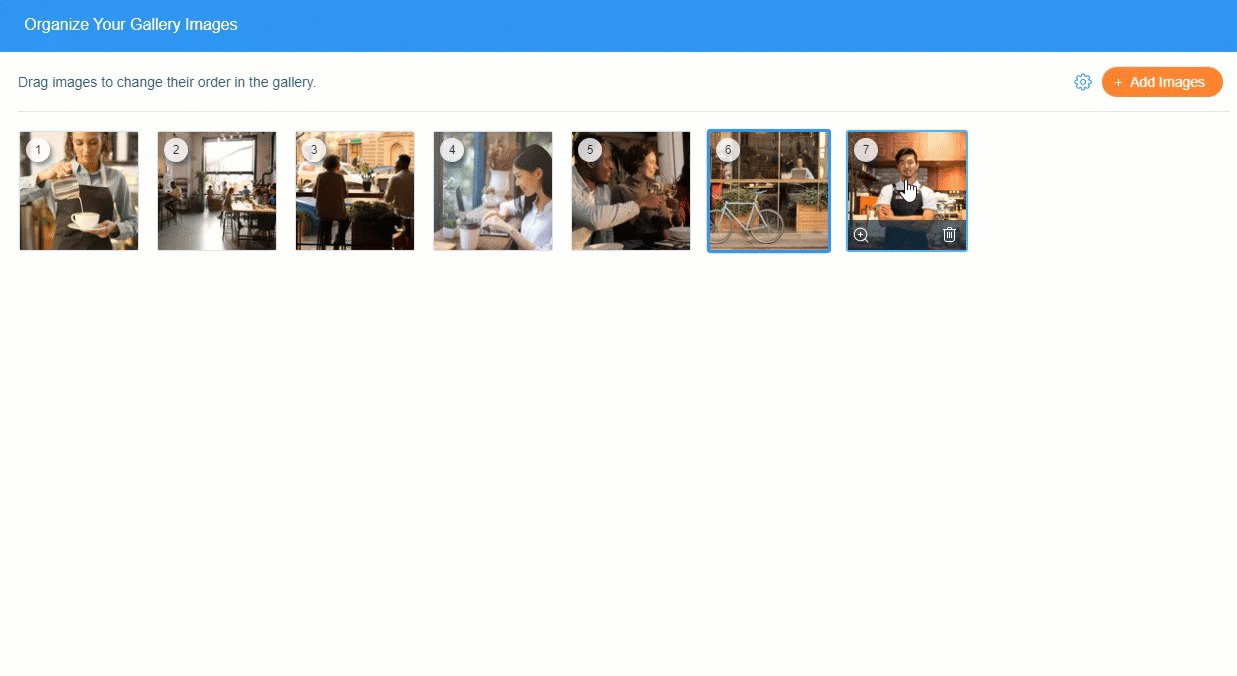
Rearrange gallery images to organize and showcase them in a way that suits your brand. You can use the order of images to spread out colors and subjects, display content by order of importance, or simply tell a story.
To change the order of images in a gallery:
- Click the gallery in your Editor.
- Click Change Images.
- Drag and drop your images into the desired order.
- Click Done.
Deleting gallery images
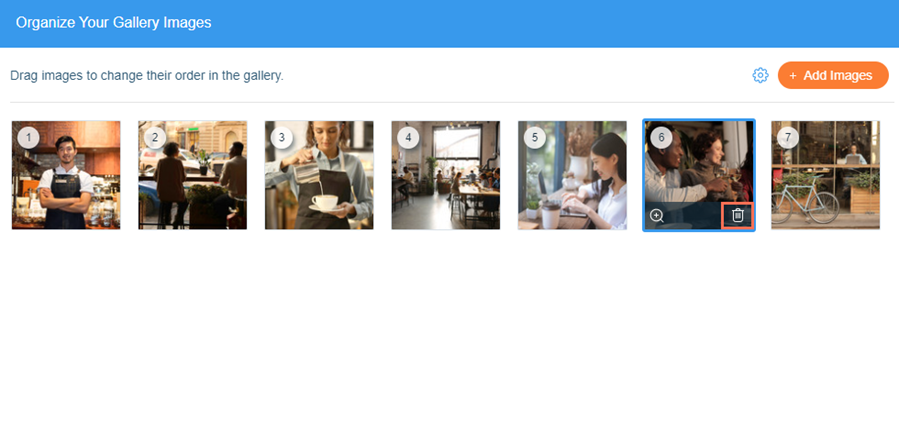
If an image is no longer relevant to your site's look and content needs, you can easily delete it from the gallery.
Important:
If you've added your own image to the gallery, deleting it only removes it from the gallery. It is not removed from your site files, and you still can access it from the Media Manager. Learn more about the media manager
To delete images from a gallery:
- Click the gallery in your Editor.
- Click Change Images.
- Hover over the relevant image and click the Remove Image icon
.
- Click Done.
Did this help?
|